
Music artists are always looking for innovative ways to stand out and captivate their audience. One tool that has gained popularity in recent years is the audio waveform visualizer.
Visualizers offer a unique and engaging way to promote your music, giving your audience a visual representation of the sounds they’re about to experience.
In this blog post, we’ll explore five powerful tips on using an audio waveform visualizer to boost your music’s impact.
What Exactly is a Waveform Visualizer?
Before we dive deeper into creating your music visualizer, let’s take a moment to understand what a waveform visualizer is and why it’s such a valuable tool for musicians and content creators.
They matter because they enhance how your audience appreciates your music. Listeners can “see” the energy in your tracks. They are incredibly versatile, finding their place in videos, live performances, and promotional videos. Keep reading to see how you can create and use your own waveform visualizer.
5 Different Uses For a Waveform Visualizer When You’re a Musician
1. Captivate Your Audience with Visual Teasers
First impressions are everything, and an audio visualizer can serve as a powerful teaser for your music. Use a snippet of your song and transform it into a stunning waveform visualization.
Share this teaser on your social media platforms or website to pique your audience’s curiosity. A striking audio waveform can be more attention-grabbing than a standard cover art image and will give potential listeners a taste of what to expect.
2. Create Interactive Music Videos
Leverage the interactivity of audio waveform visualizers to create unique music videos. This creative approach can help engage your audience in a more profound and memorable way, making your music a multi-sensory experience.
It can also save you a lot of money when creating a music video. It’s a win-win!
3. Personalize Your Website and Social Media
Customize your website and social media profiles with audio waveform visuals representing your music.
Pin it to the top of the page so your track is the first thing people hear and see when they visit your page.
4. Enhance Live Performances
Bring the power of audio waveform visualizers to your live performances. Many lighting and projection systems can be synchronized with your music to display your pre-designed audio waveforms.
Incorporating this visual element into your shows can captivate your audience and make your performances more memorable. It’s a fantastic way to leave a lasting impression!
5. Visualize Your Music’s Journey
Take your audience on a journey by sharing the creation process of your music. Create a series of audio visualizers that show how your song has evolved from its initial idea to the final product.
Share these visuals on your social media and website, giving your fans an exclusive behind-the-scenes look at your creative process.
This transparency and storytelling can help build a stronger connection with your audience, allowing them to appreciate the effort and artistry that goes into your music.
How to Create Music Visualizer Videos for Free Using Beatwave
Let’s now explore the step-by-step process for crafting your music visualizer videos through Beatwave for FREE!
Step 1: Visit the Beatwave Platform
Start your creative journey by heading to the Beatwave platform at viddyoze.com/beatwave. If you haven’t already, create your FREE account.
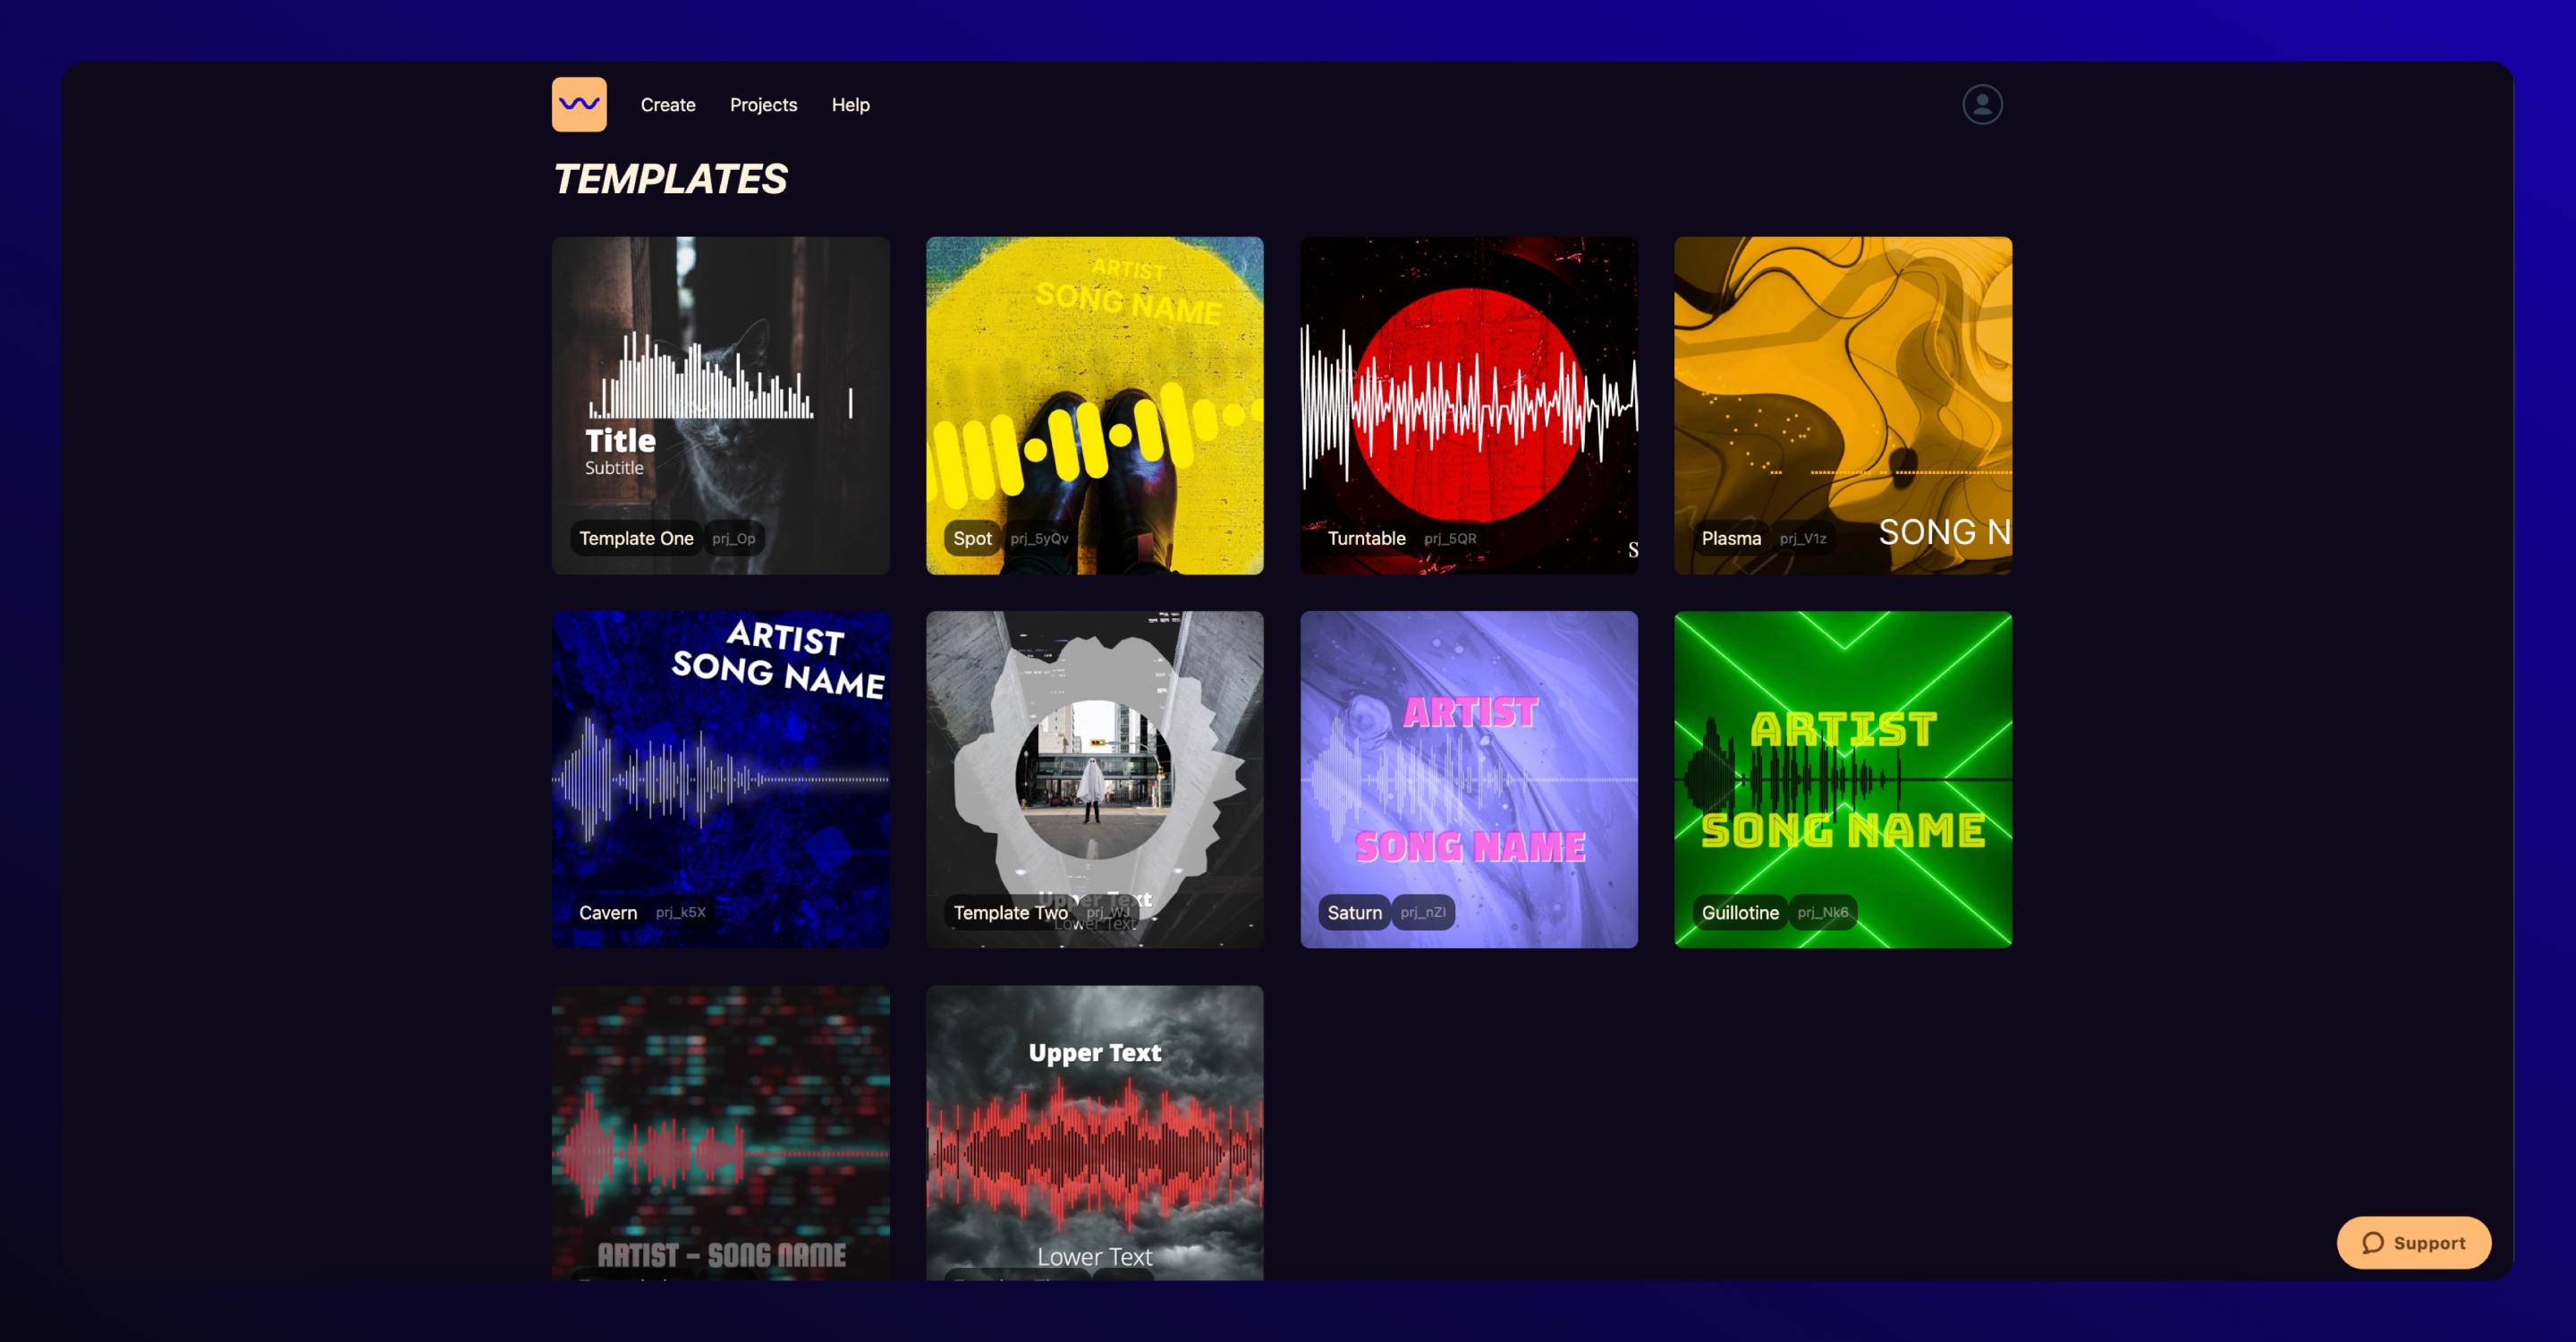
Step 2: Choose Your Visualizer Style
Browse the range of visualizer styles within Beatwave. Whether you prefer classic waveforms or seek more abstract and artistic options, there’s something to complement your music.
Step 3: Personalize Your Visualizer
Having selected your preferred style, it’s time to put your unique touch on the visualizer. Incorporate your audio, fine-tune the colors, and adjust other settings to match the vibe of your music.
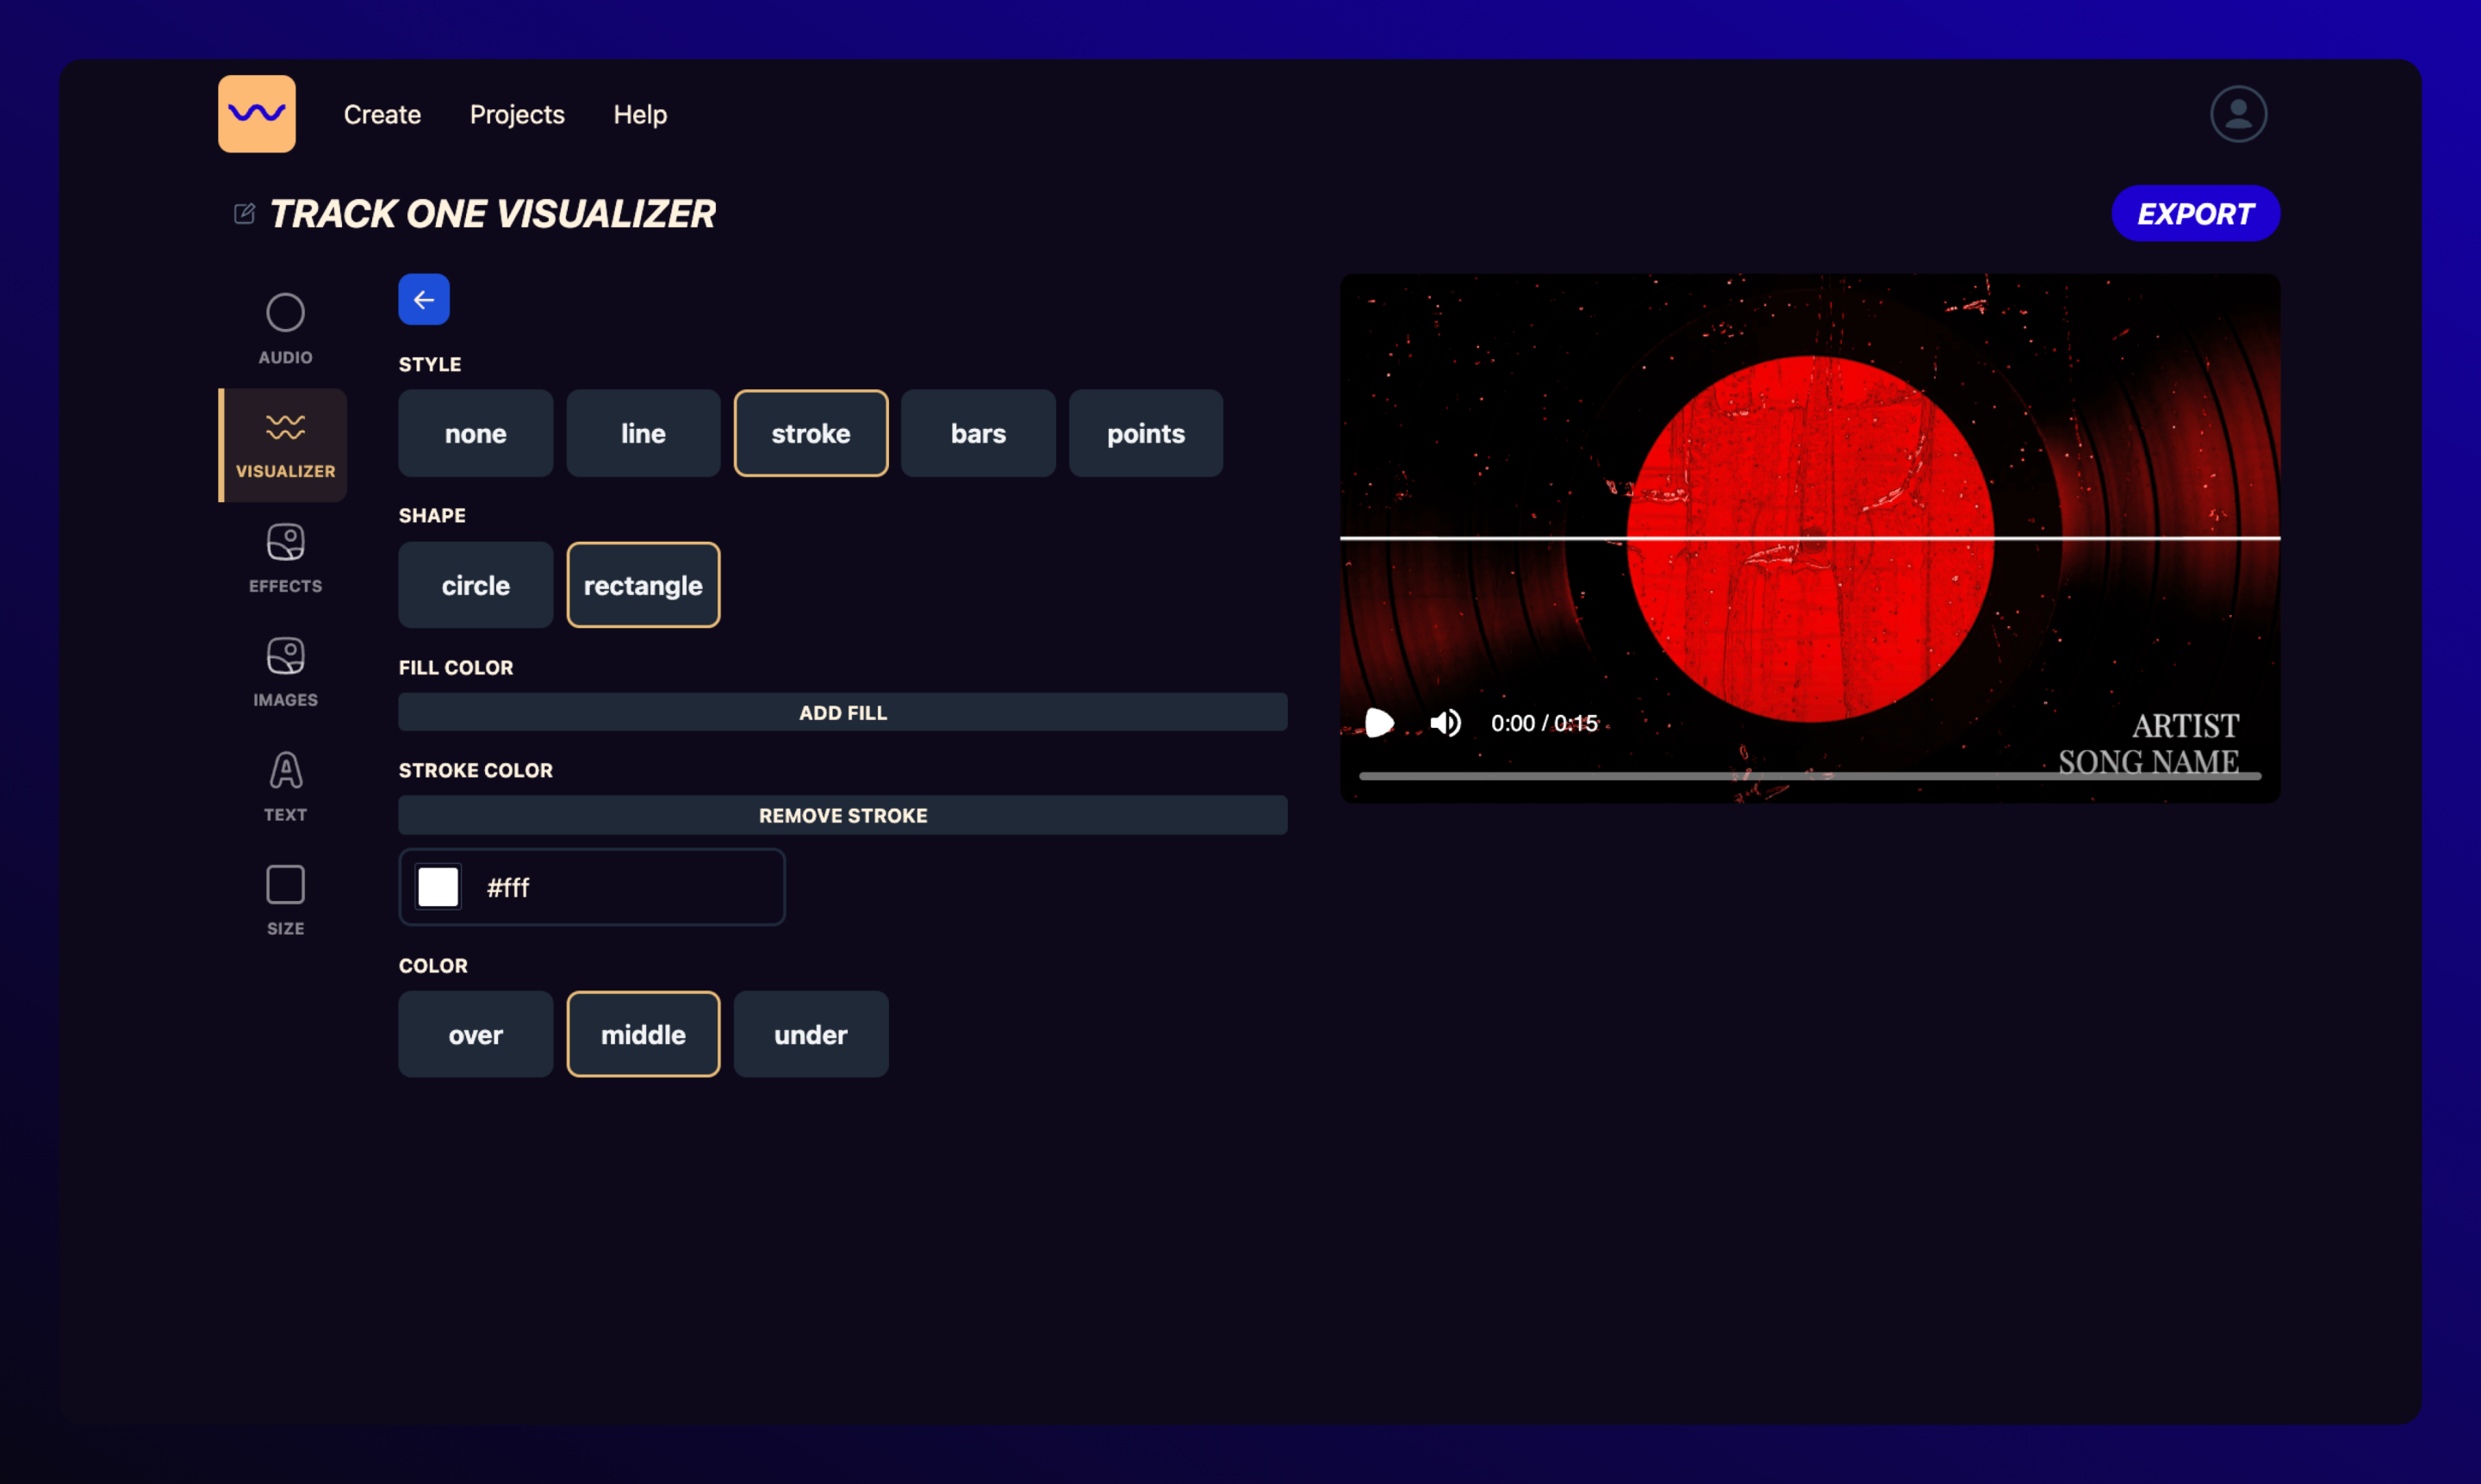
Step 4: Preview Your Creation
Beatwave offers a real-time preview of your music visualizer. Use this feature to make sure your visualizer synchronizes with your music. Make any necessary changes until you’re happy with the final look.
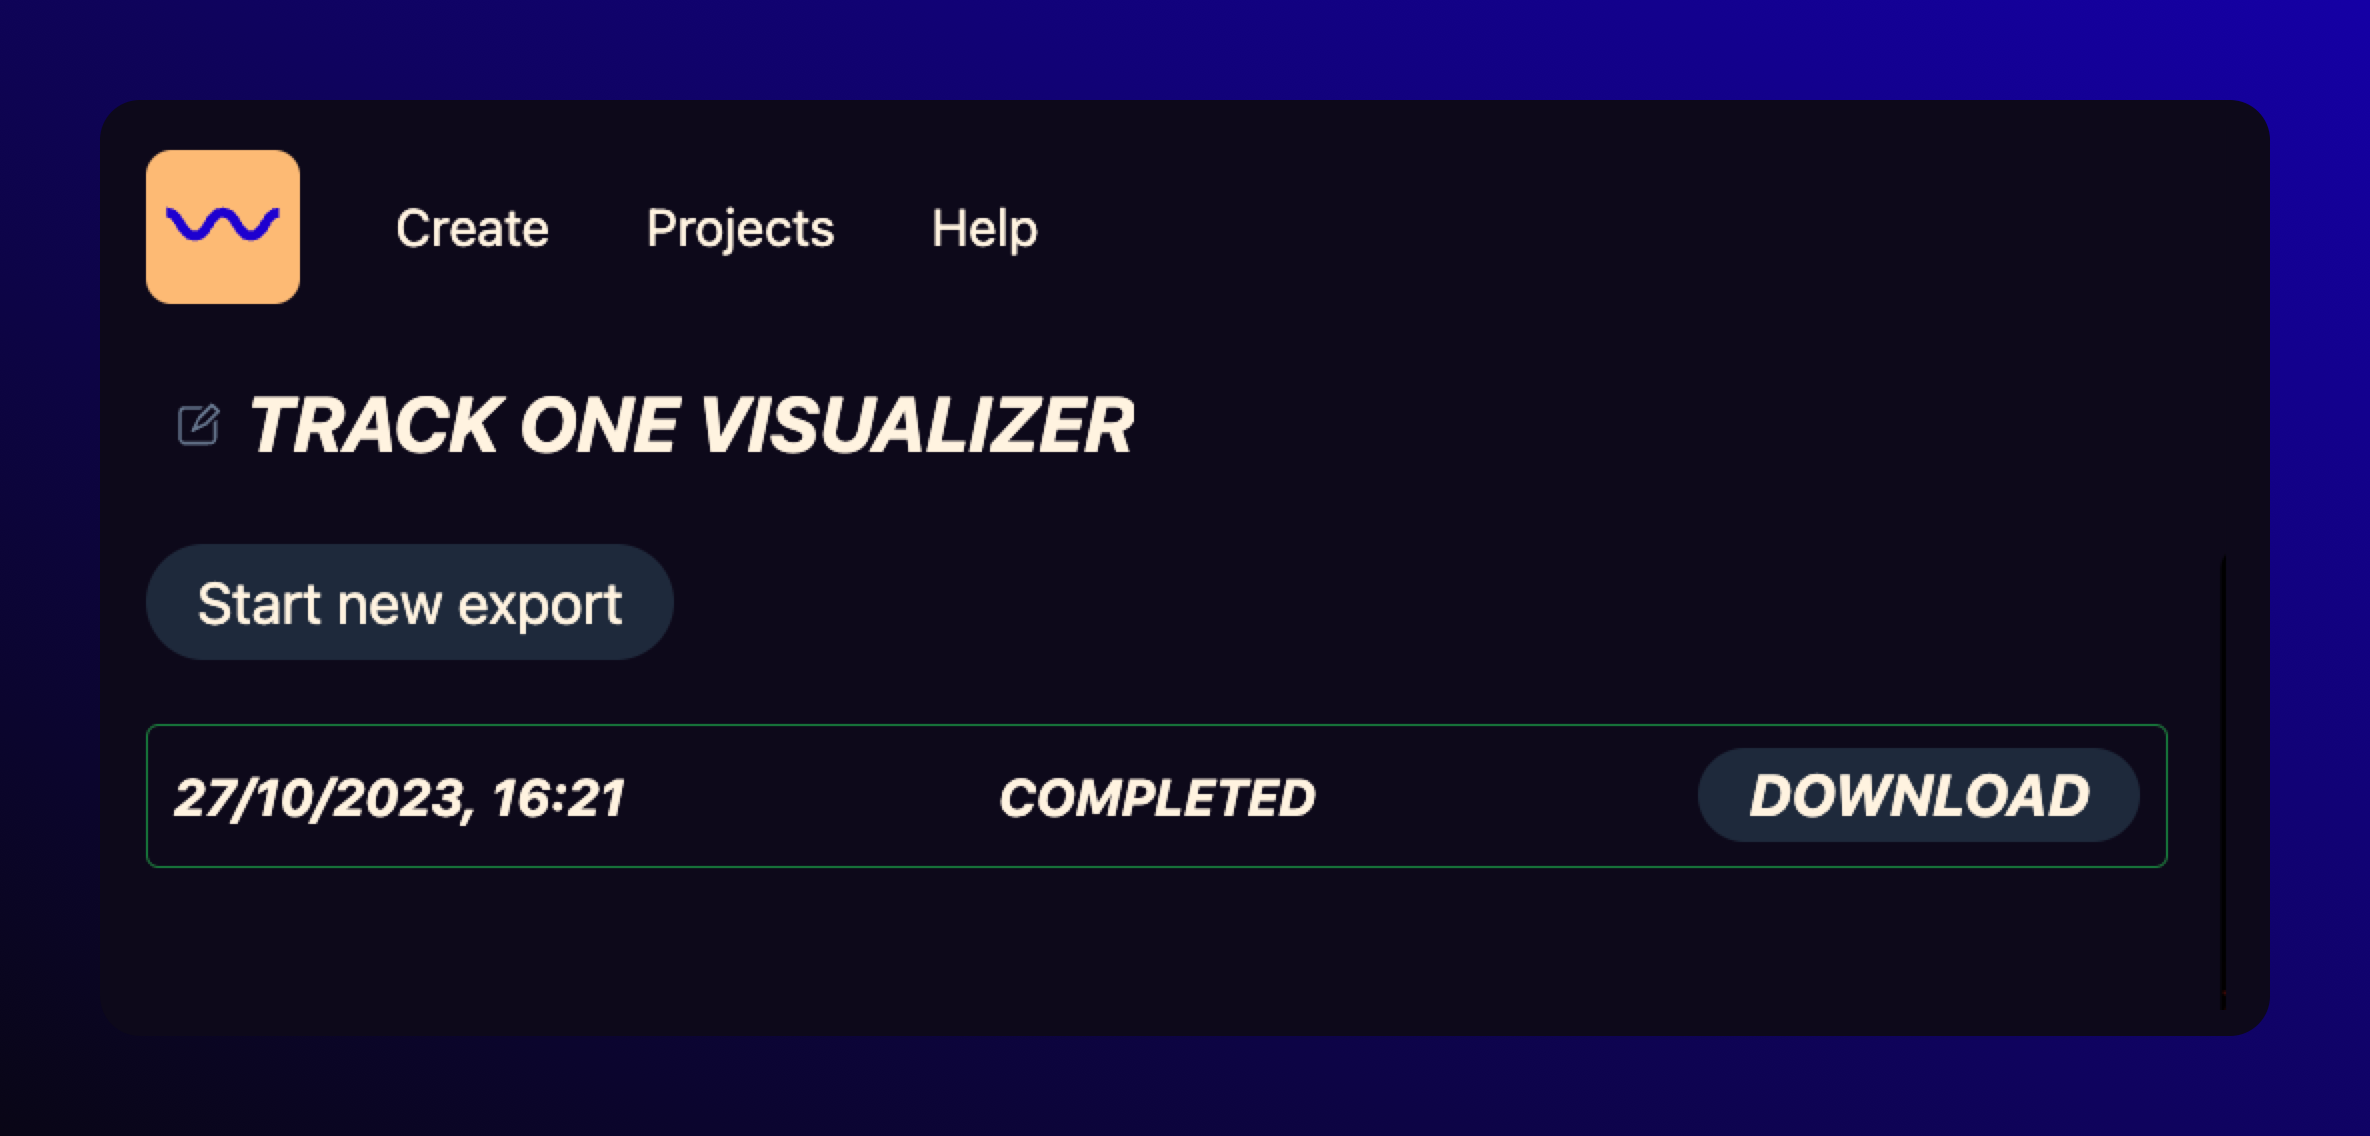
Step 5: Export Your Video
With your creation perfected, it’s time to export your visualizer video.
Step 6: Share Your Masterpiece
Now that your visualizer video is ready, share it with the world! Whether it’s through your social media accounts, as an accompaniment to your YouTube content, or as a captivating visual backdrop for live performances, let your masterpiece shine.
Final Thoughts
Experiment with these five tips to harness the power of audio waveform visualizers and promote your music in a more engaging and immersive way.
By doing so, you can increase your music’s visibility and impact while forging a stronger connection with your audience.
Remember, in the world of music promotion, creativity knows no bounds, and audio waveform visualizers are a valuable tool.

