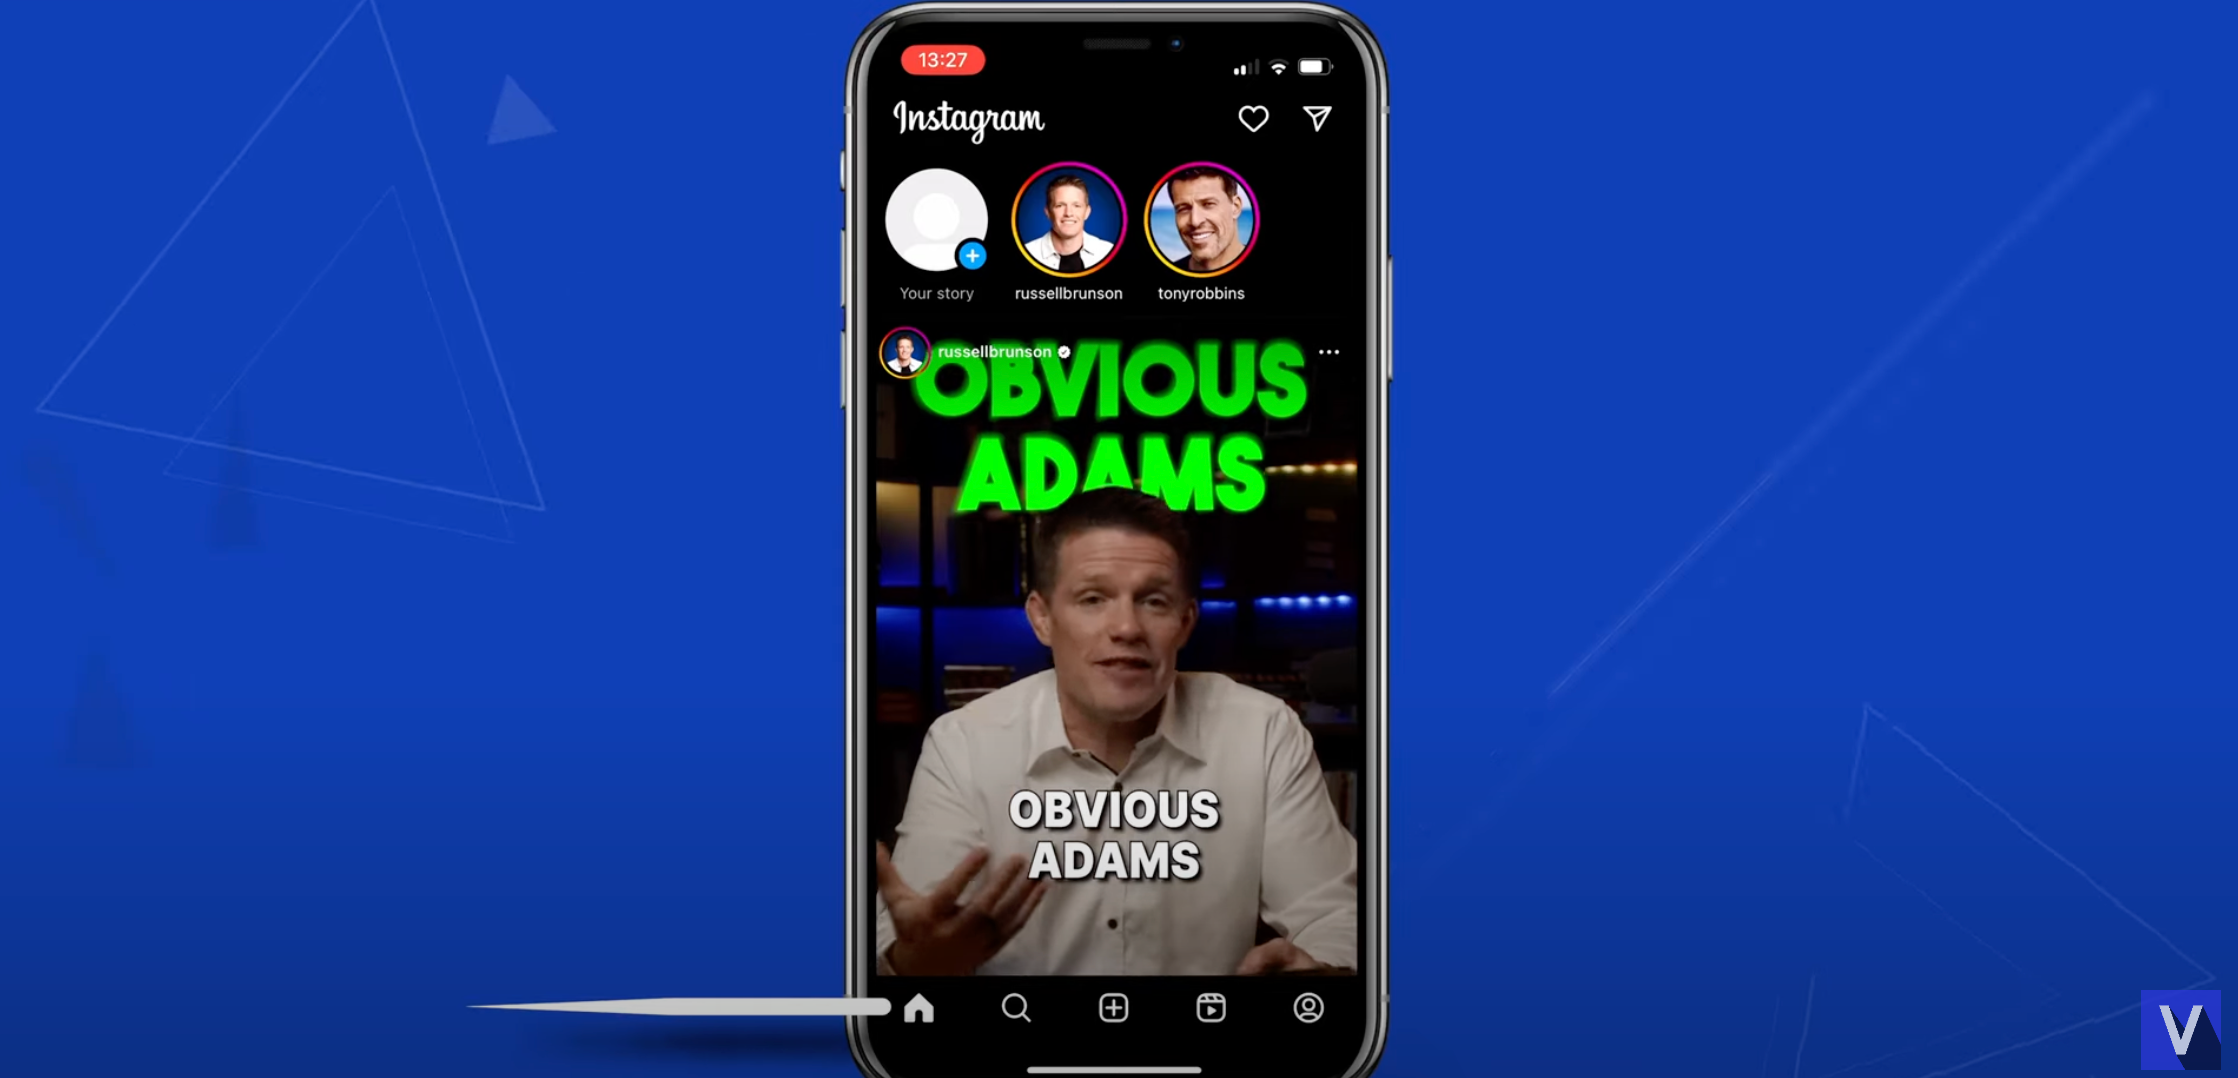
Create Instagram Reels are a must for creators, brands, and influencers to engage with their audience. Creating entertaining videos is crucial as they increase reach and engagement on the platform.
With Instagram always updating features, it’s important to stay on top of how to get the most out of Instagram Reels. Here’s a complete guide on how to make Instagram Reels in 2024 using all the creative tools Instagram has to offer.
1. Starting with Instagram Reels
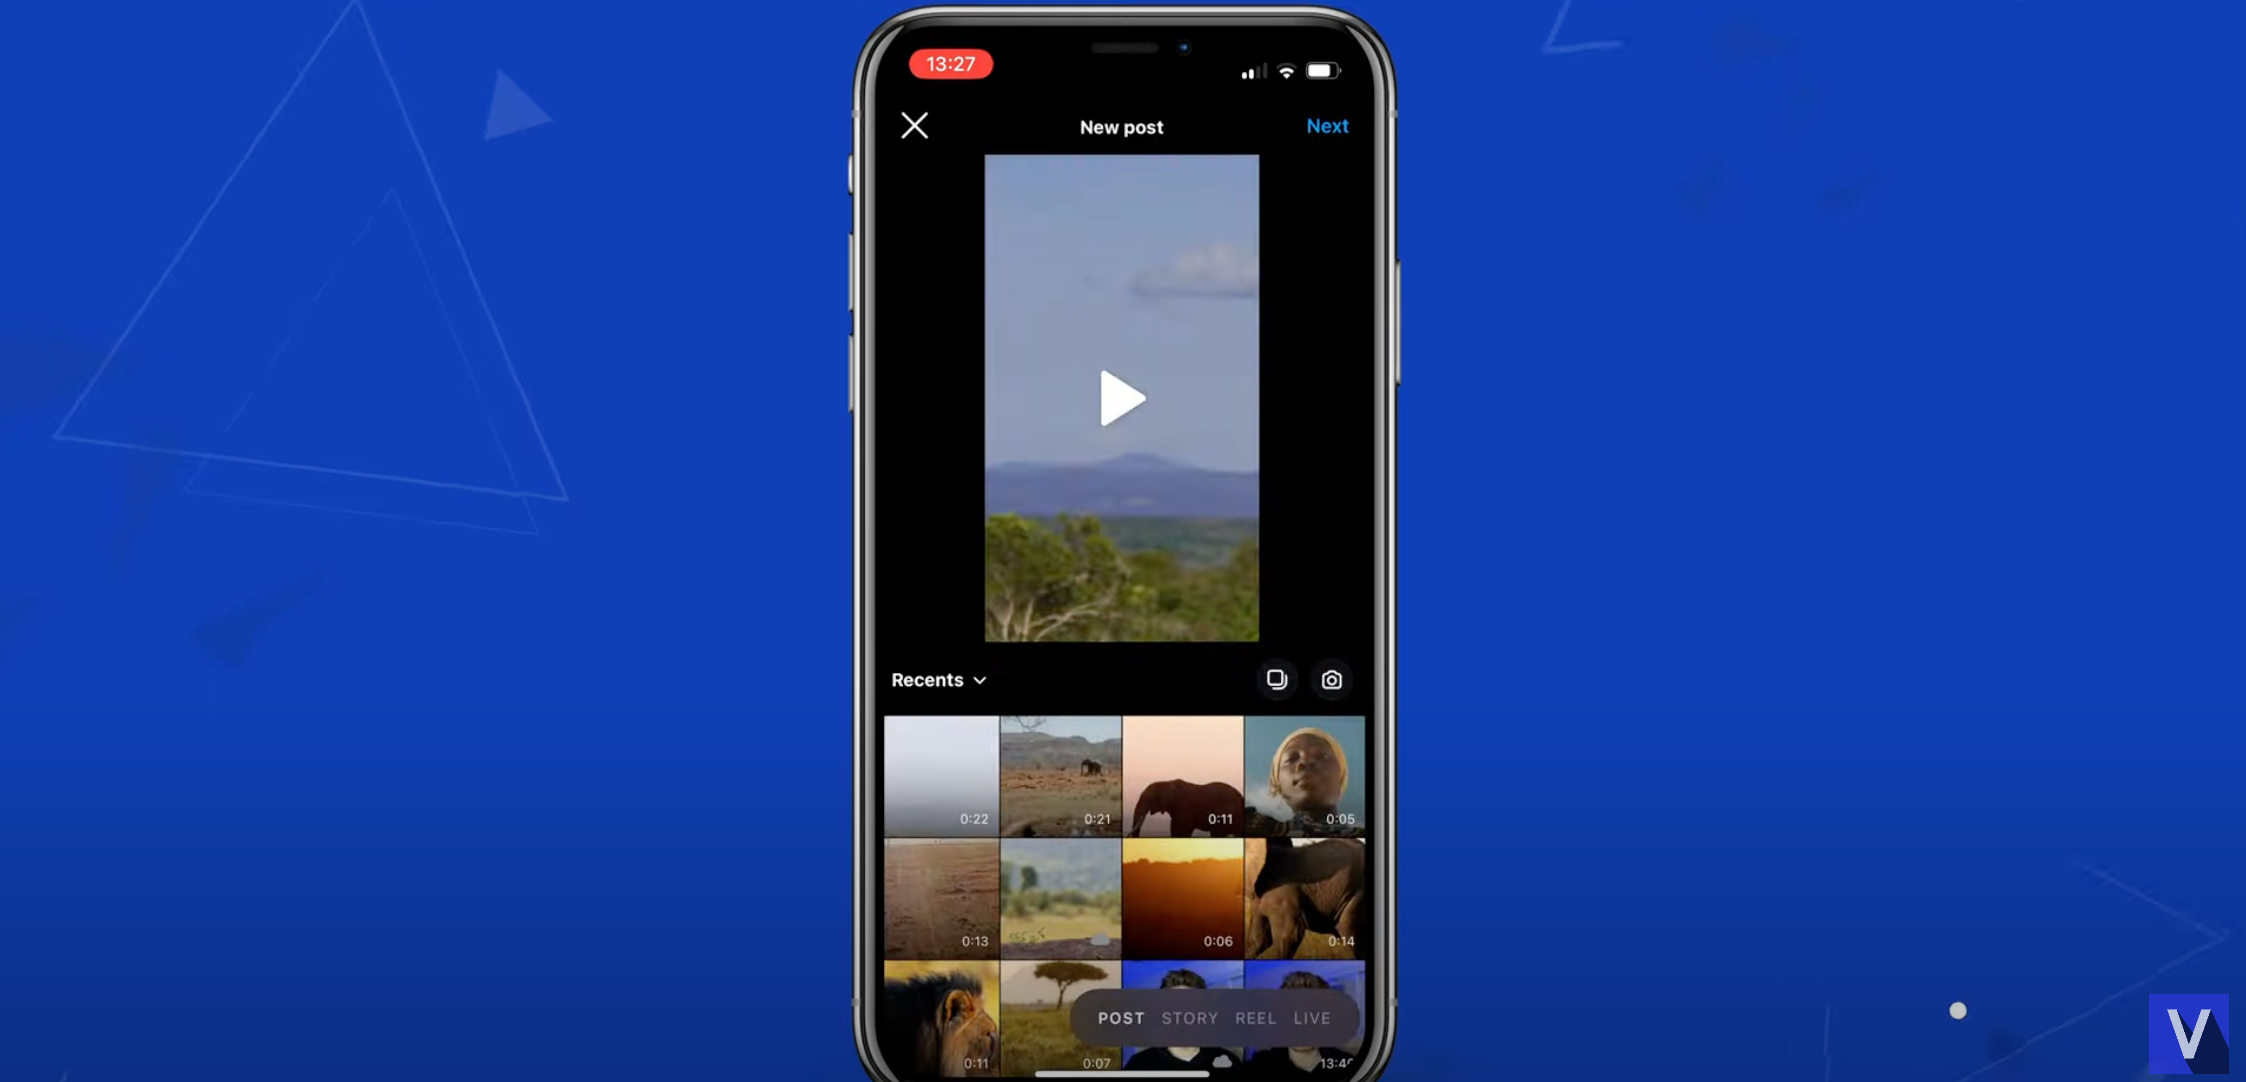
Open the Instagram app. You’ll find the centre plus button at the bottom of the screen—tap it to create new content. A menu will appear at the bottom with several options, including Post, Story, Reel and Live. Tap “Reel” to get started.
The Reels tab is a dedicated space within the Instagram app where users can create, discover, and share Reels, enabling better visibility and engagement for short-form video clips.
2. Record or Select Media for Your Reel
Once you’re in the Reel creation interface you’ll see a camera icon at the top of the screen. This allows you to record new footage within the app, including multiple clips to enhance your video. If you have content you want to use, Instagram has a “Clip Hub” where you can browse a huge library of clips to add to your Reel. Use the search bar to find specific clips or browse the pre-set categories for ideas.
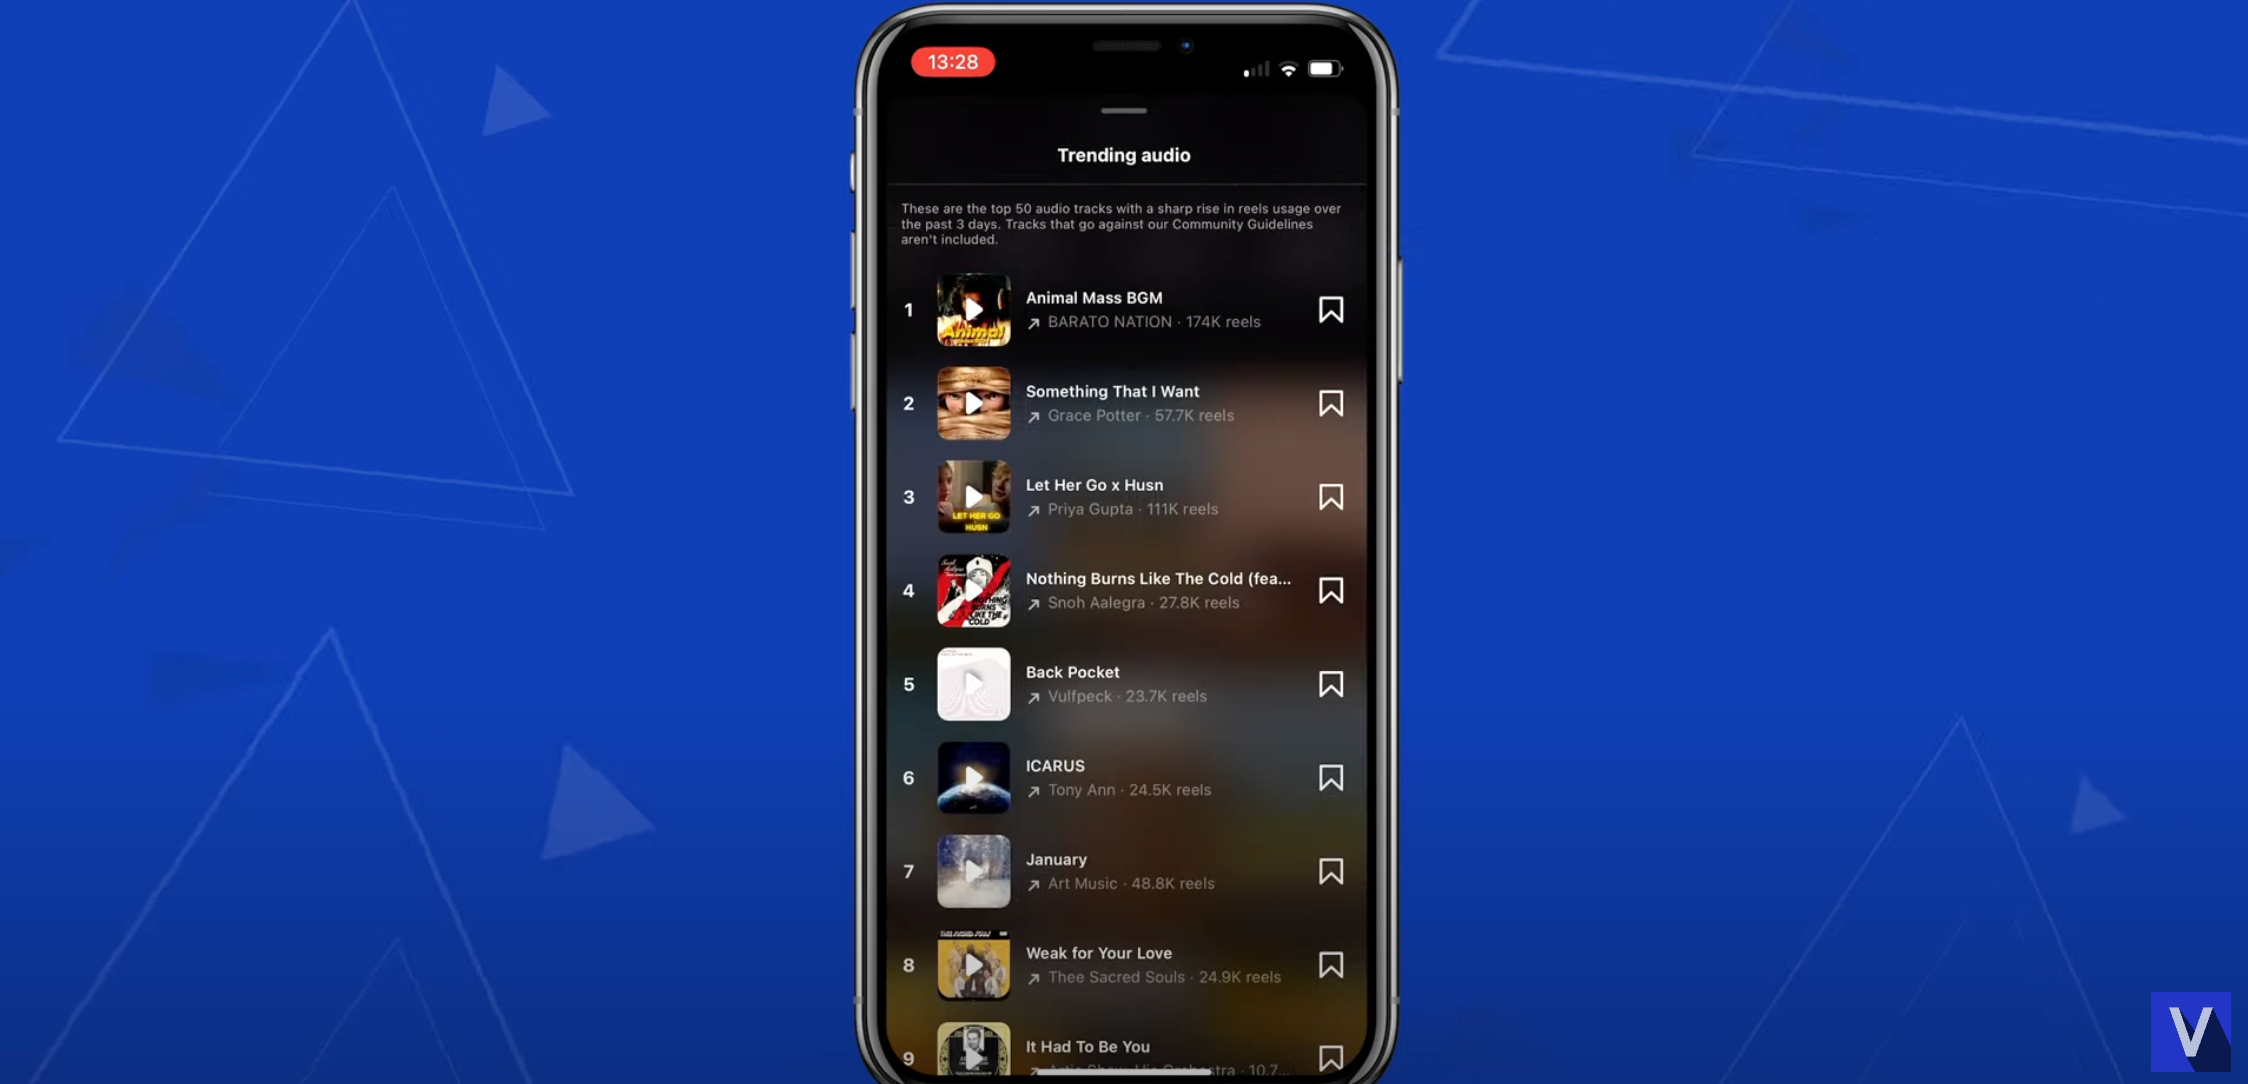
If you’re not sure what music to use, tap the “Audio” option to access Instagram’s music library. The trending section shows the top 50 tracks being used in other Instagram Reels so you can choose a popular one to boost engagement.
If you don’t want to start from scratch, Instagram has a “Templates” feature. Here you can choose a pre-set edit and replace the default clips with your own. This is great if you want a quick way to make an Instagram Reel. Another shortcut is the “Made for You” section where Instagram will create a Reel for you from the media in your camera roll.
If none of these options work for you, you can manually select clips from your camera roll. Once you’ve chosen your media tap the next button at the bottom right.
3. Add and Edit Audio
If you haven’t selected an audio track yet, Instagram will ask you to do so at this stage to add music. You can also use your own original audio by recording your sound directly within the app. You can search for a track or choose one from the trending list. If you don’t want to use music tap the skip button on the bottom left and continue editing. Once you’ve chosen your track tap “Next”.
4. Editing Your Reel
Now that your clips and audio are in place, you’ll enter the editing interface to create reels. Using vertical videos can enhance your Instagram Reels, making them more captivating and discoverable.
Here you can resize the viewer by tapping and holding the image and moving it up or down to adjust the size. You can also zoom in or out on the timeline by pinching your fingers together or apart.
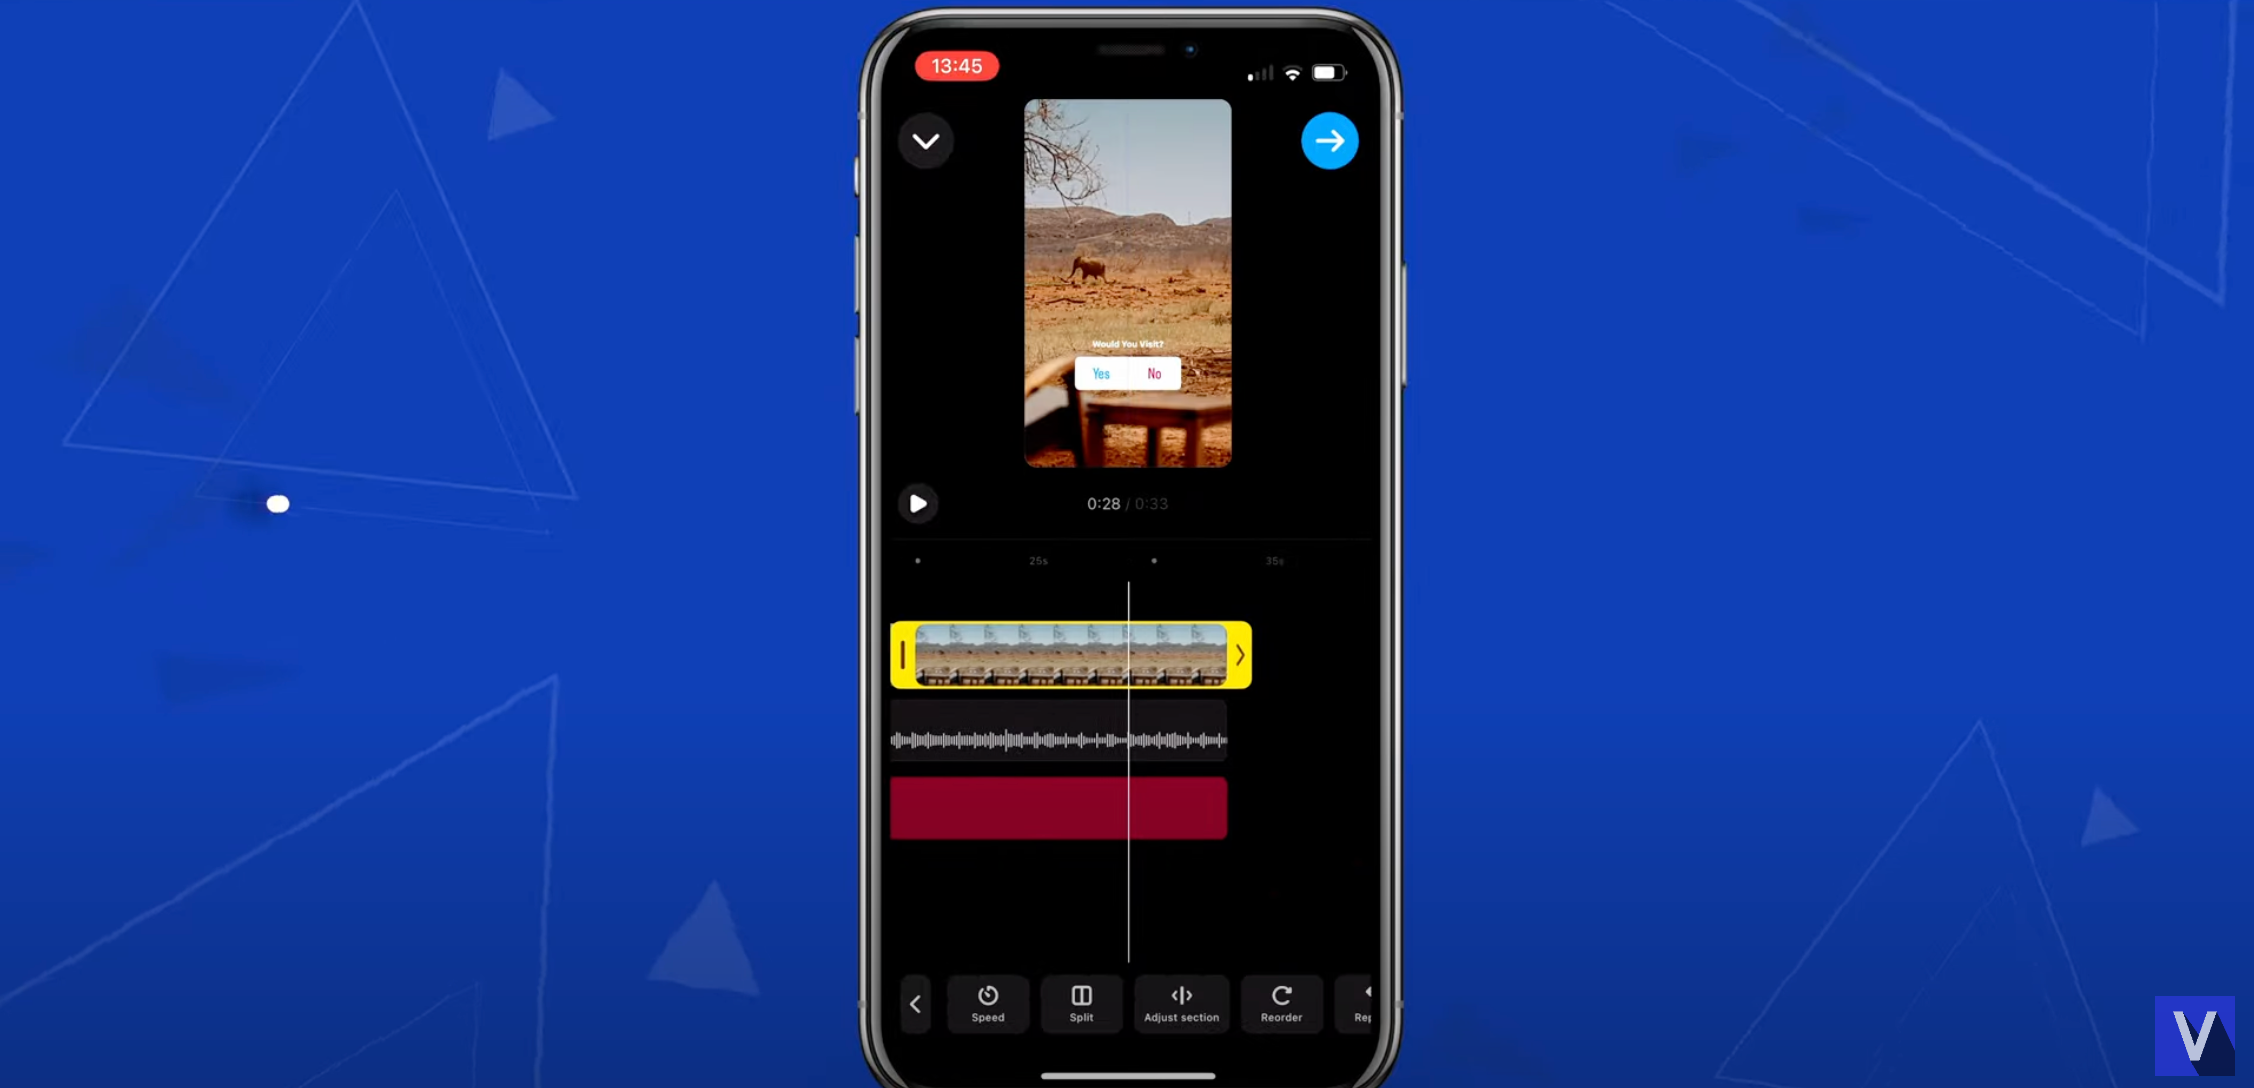
The first tool at your disposal is the “Edit” tool. You can access this by pressing the tool or tapping on the media clip you want to edit on the timeline. The selected clip will be highlighted in yellow.
- Speed Tool: Adjust the speed of your clip using a slider. Moving it to the right will speed up the clip (e.g. 2.0x speed will play twice as fast) and moving it to the left will slow it down (e.g. 0.5x speed will play at half speed).
- Split Tool: Use this to cut your clip at the exact point where the thin white line is.
- Adjust Section Tool: This tool allows you to choose which part of your clip will be in your Instagram Reel. For example if you have a 1 minute clip but only want to show 5 seconds you can choose the specific part using this tool.
- Reorder Tool: This allows you to rearrange the order of your clips in the timeline.
- Replace Tool: If you want to swap out a clip but keep the same timing use the Replace tool. It will substitute the media without changing the duration of the clip.
- Crop Tool: Tap or pinch the image in the viewer to adjust the positioning, size and rotation of your clip.
- Discard Tool: Remove any unwanted clips from your timeline by selecting them and tapping the discard button.
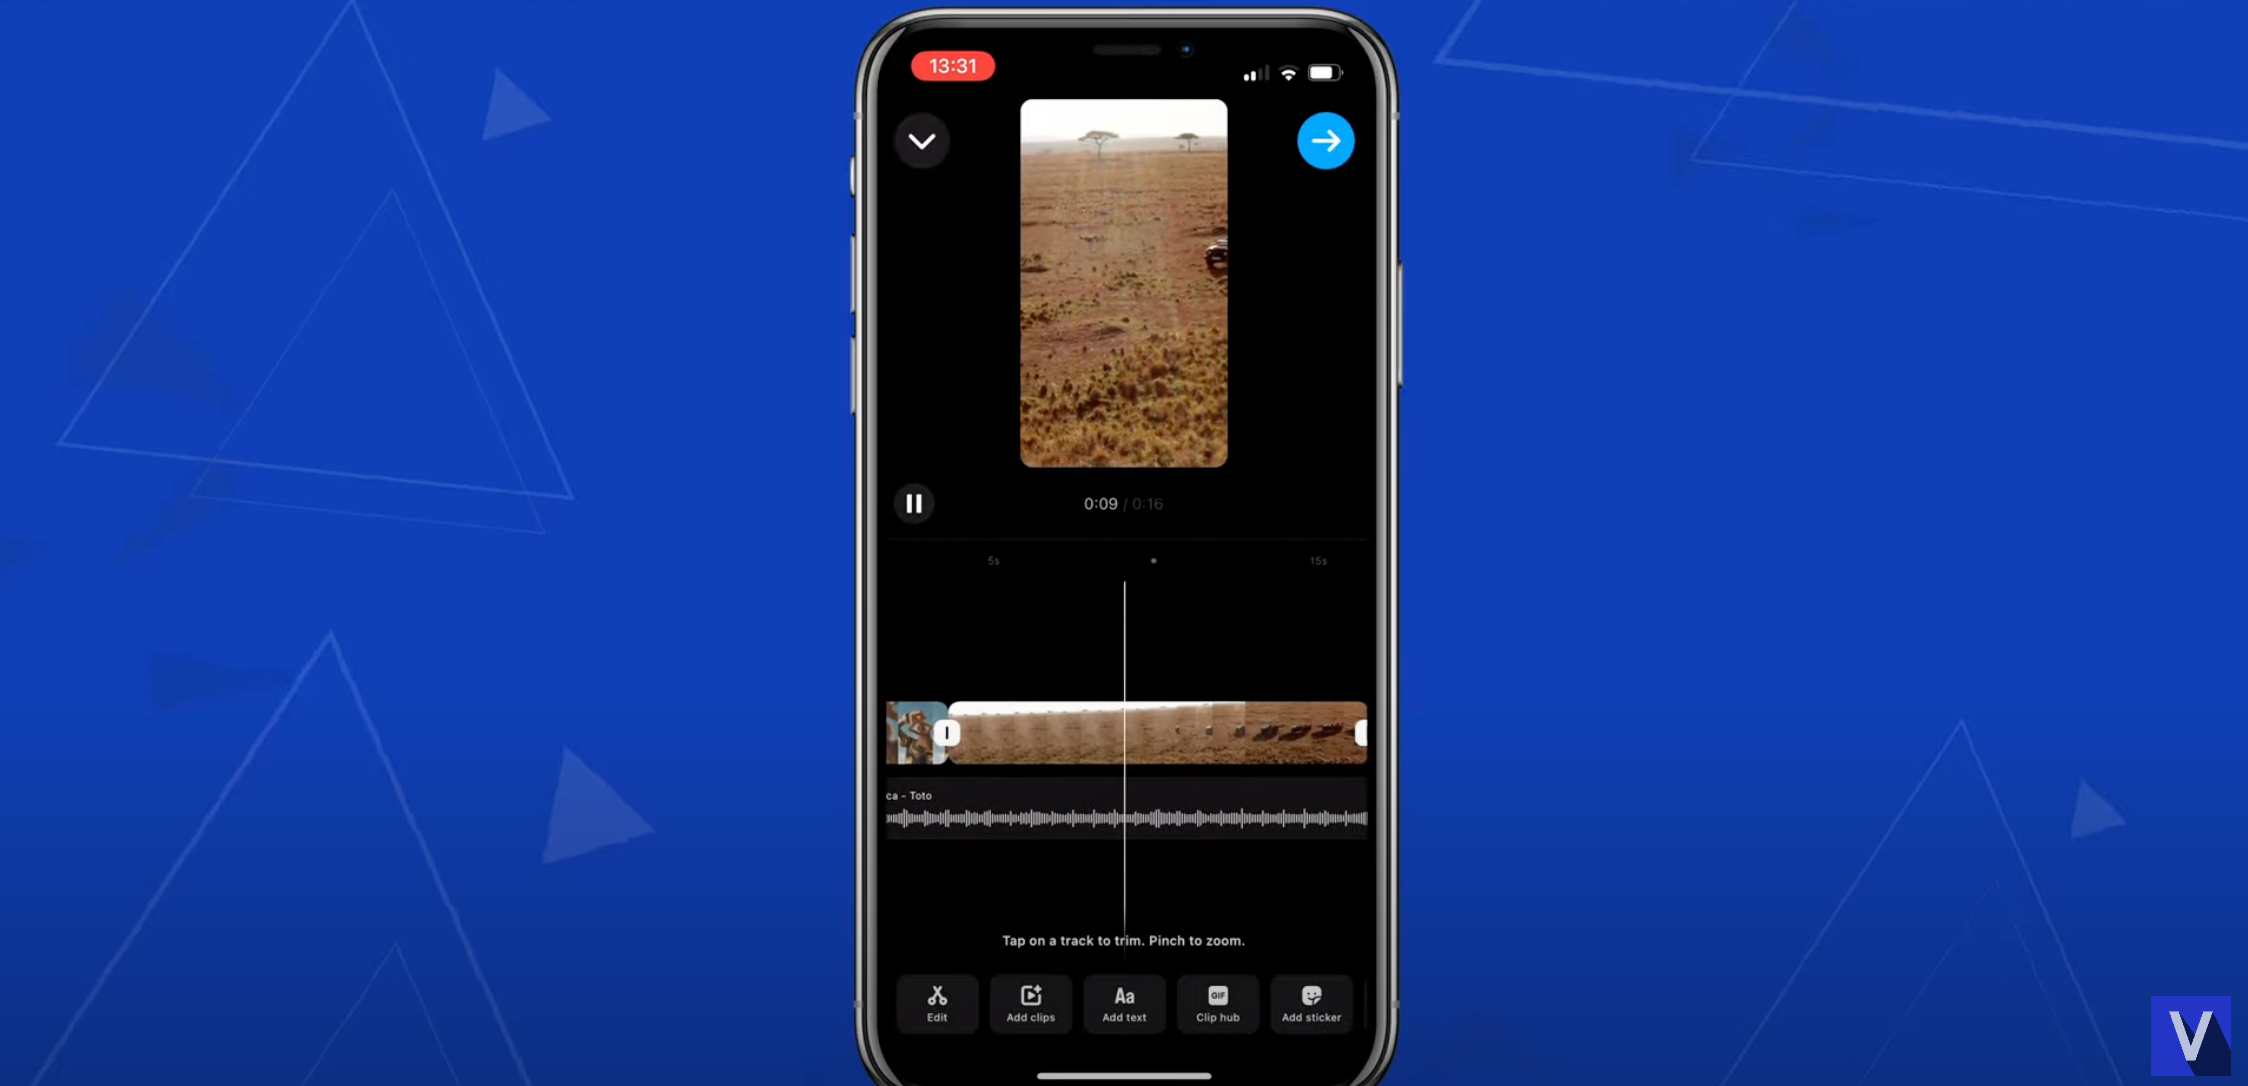
5. Add New Clips
If you want to record multiple clips, tap the “Add Clips” button. You can record new content using the camera, choose from the Clip Hub or select more media from your camera roll. Once you’ve selected a new clip you can trim it by dragging the handles in. Tap “Next” to add it to your Instagram Reel.

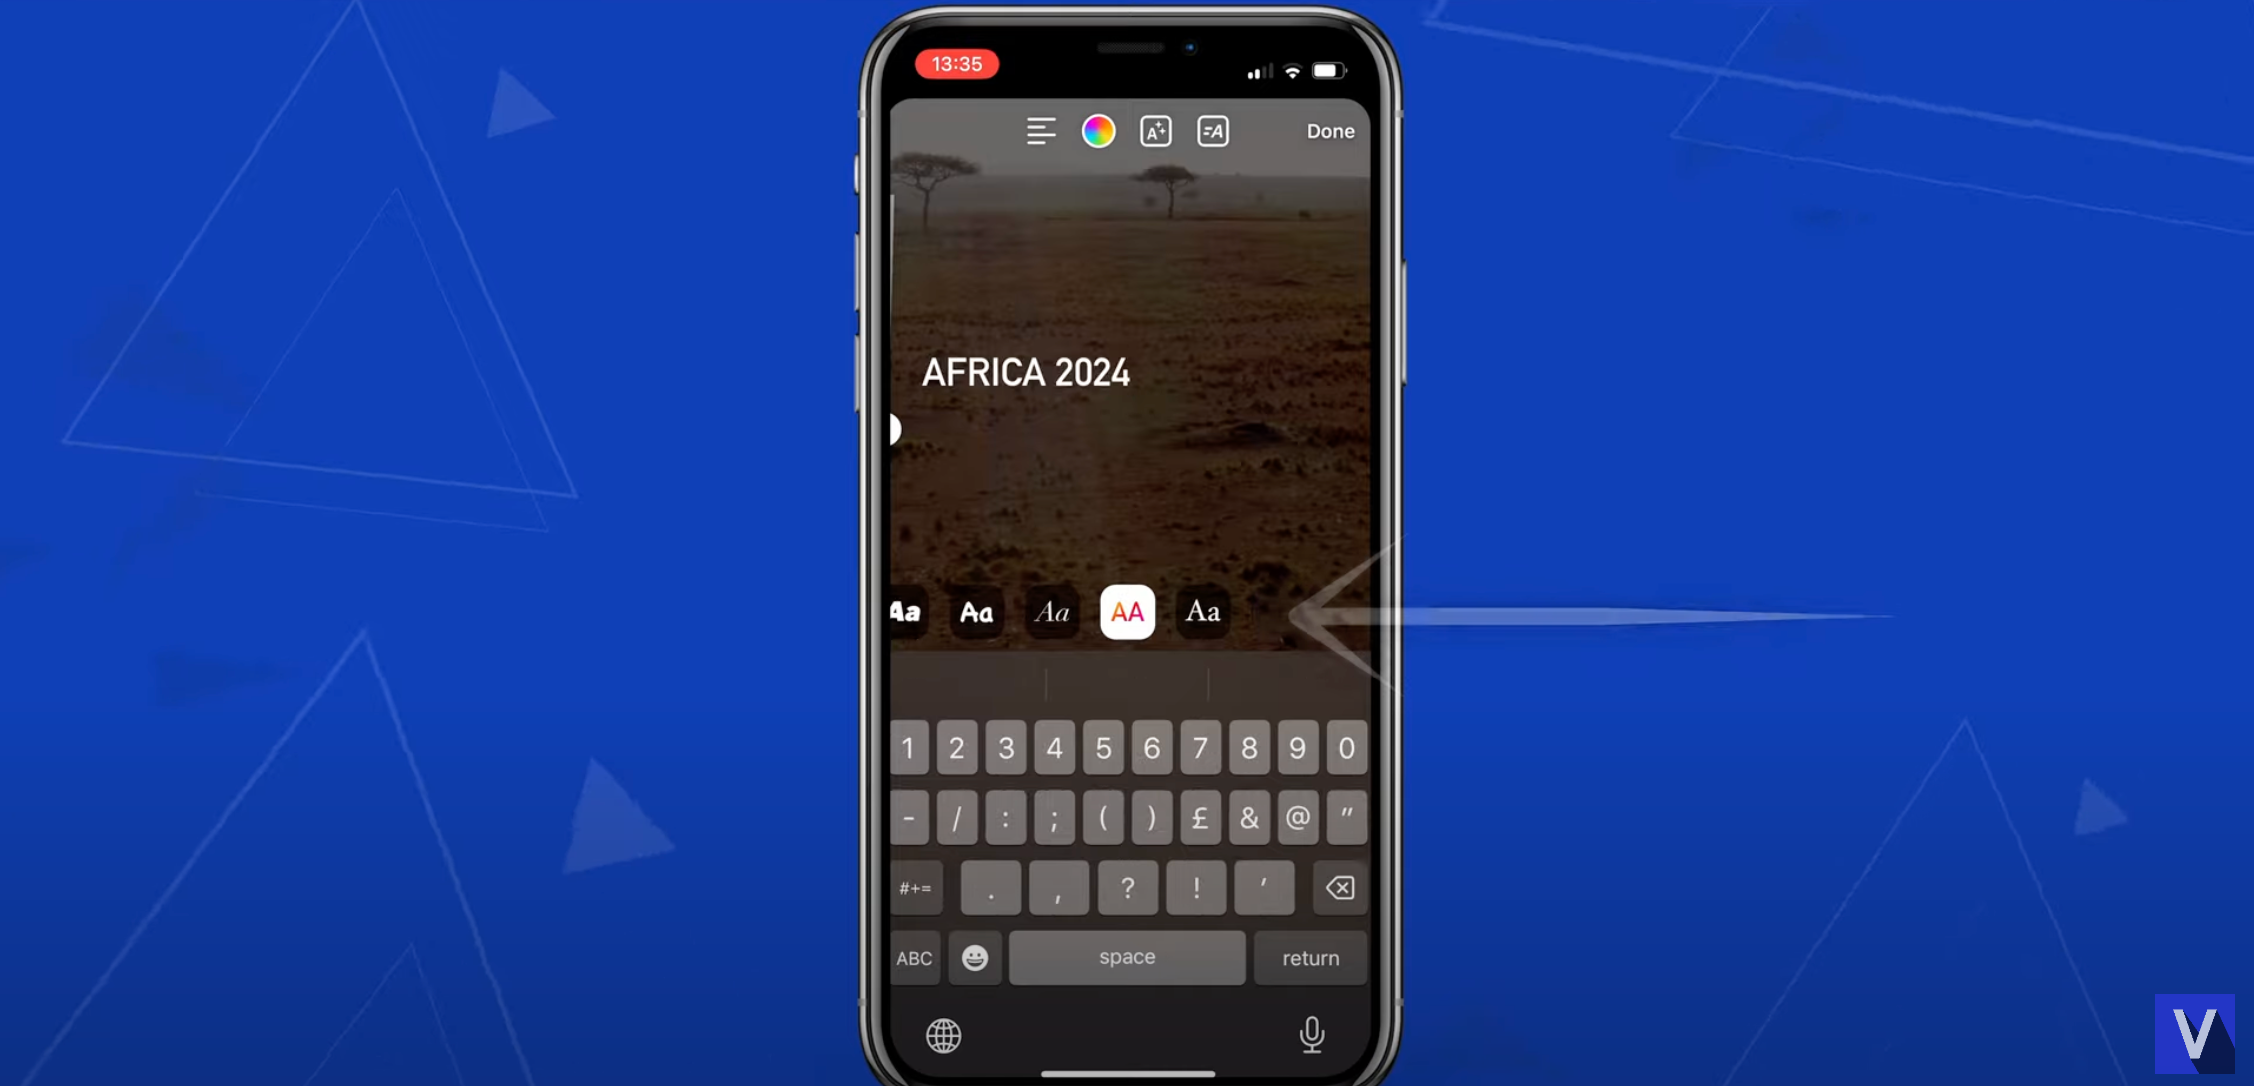
6. Add Text
To add text to your Instagram Reel tap the “Add Text” tool. You can type your message and customise it with different font styles and sizes. Hold and drag the text to where you want it on the screen. Instagram also allows you to change the colour, alignment and add effects to your text.
Once you’re happy tap “Done”. The text element will appear on your timeline where you can adjust the duration by dragging the handles. Tap the text clip to duplicate the text or edit it further. You can also use the “Text-to-Speech” feature to have Instagram read your text out loud in the Reel. This is great for adding a voiceover without recording your own voice.
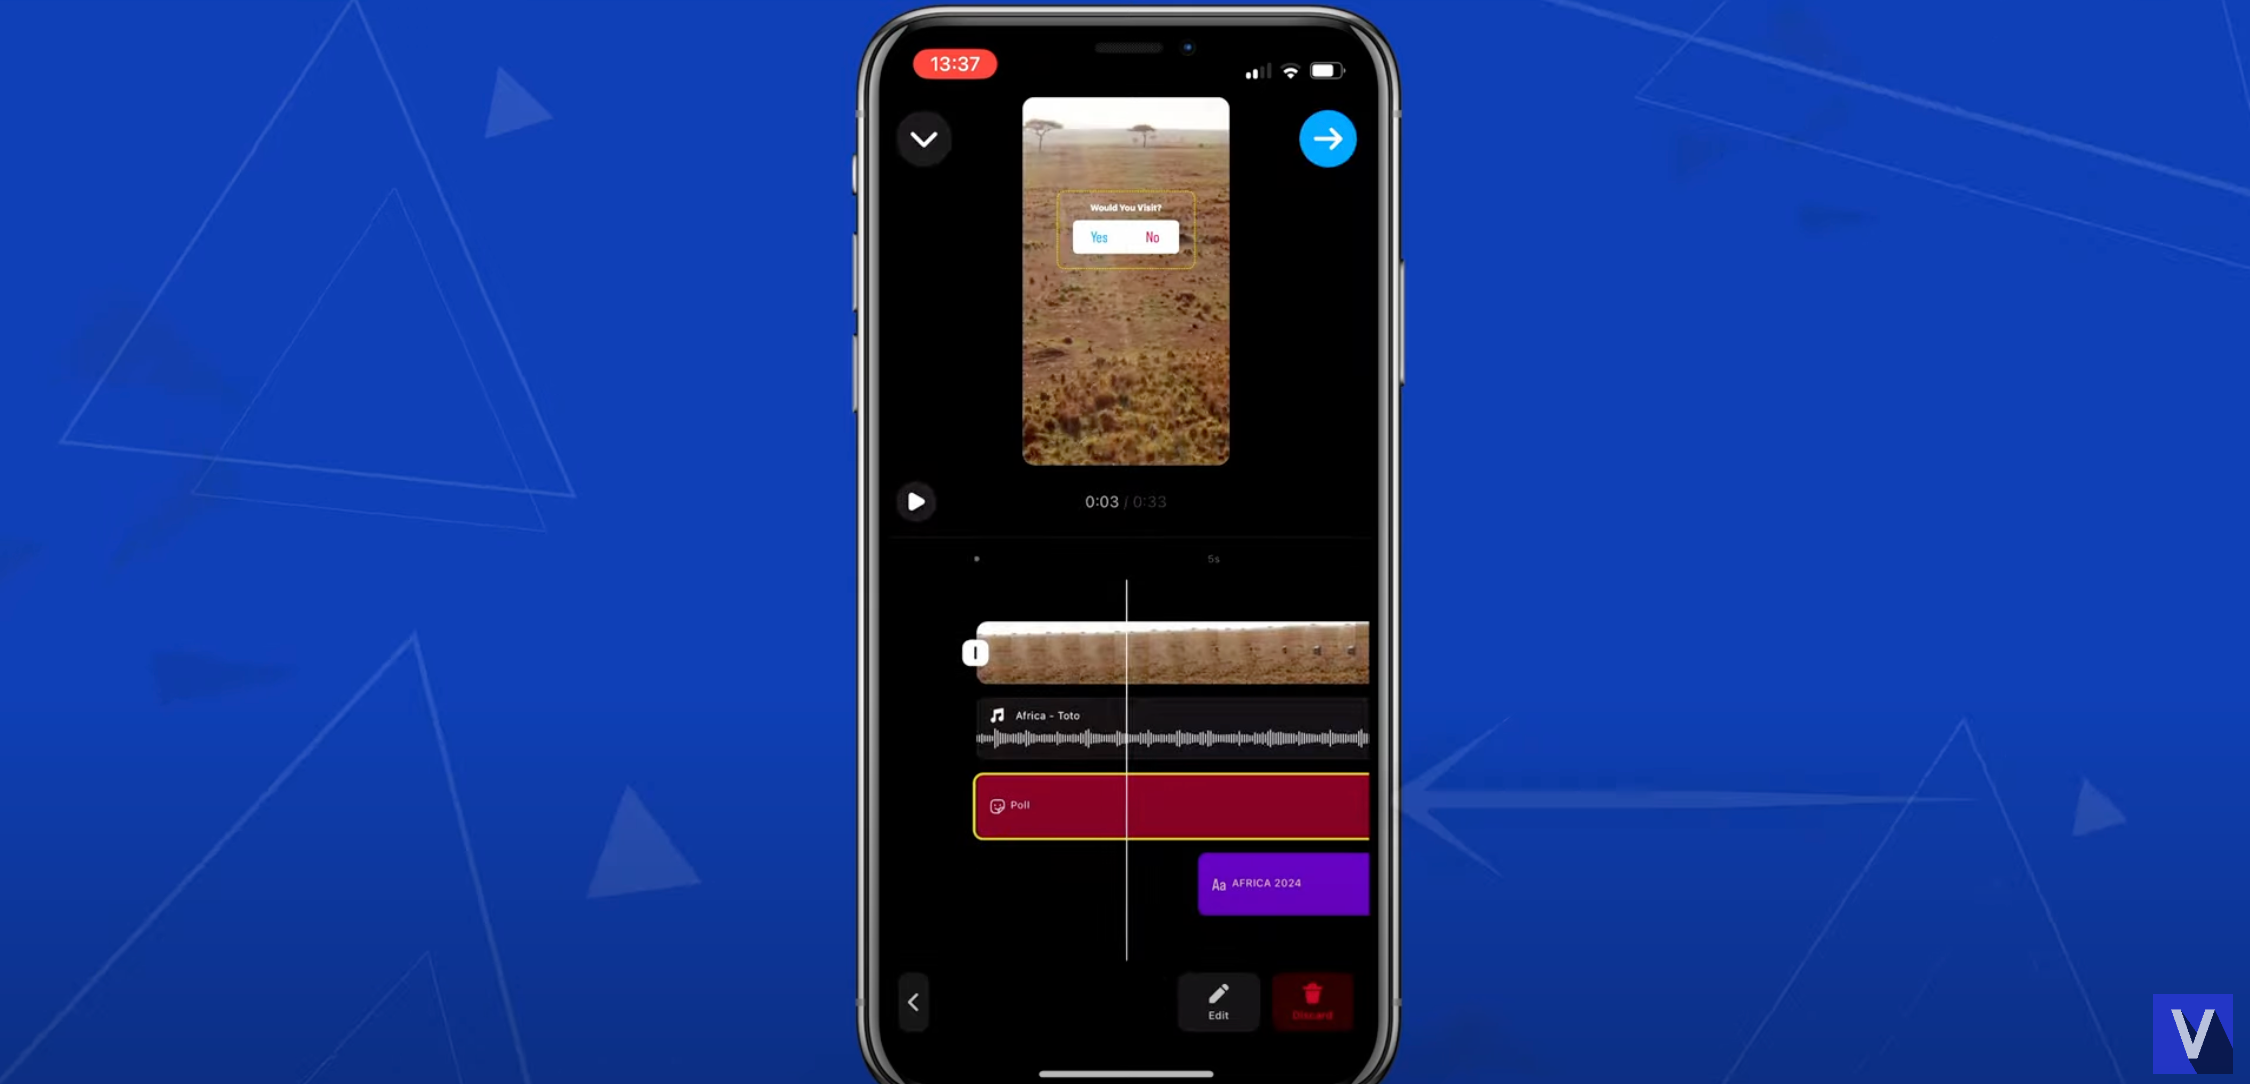
7. Stickers and Voiceovers
Instagram has a range of stickers you can add to your Reels to increase engagement. Tap the “Add Sticker” button to browse options like polls, quizzes or even temperature displays. Any added stickers will appear on your timeline where you can edit or remove them by tapping on the sticker.
If you want to add a voiceover tap the “Voiceover” tool. You’ll see a countdown before the recording starts so you can narrate as your Reel plays. Once recorded you can trim and adjust the voiceover on the timeline.
8. Volume and Filters
To make sure your audio is balanced use the “Volume” tool to adjust the levels of all audio tracks in your Reel. For example if you’ve added a voiceover you might want to lower the music volume so your narration can be heard clearly.
Now use the “Filter” tool to add one of Instagram’s many filters to your entire Reel. Filters can help you create a consistent look or mood across your content.

9. Reorder Clips and Transitions
To reorder your clips use the “Reorder” tool. You can also add transitions between clips by tapping the small white square with a black line inside. Choose from a range of transitions to create smooth cuts between your clips. If you want the same transition to all clips hit the “Apply to All” button.
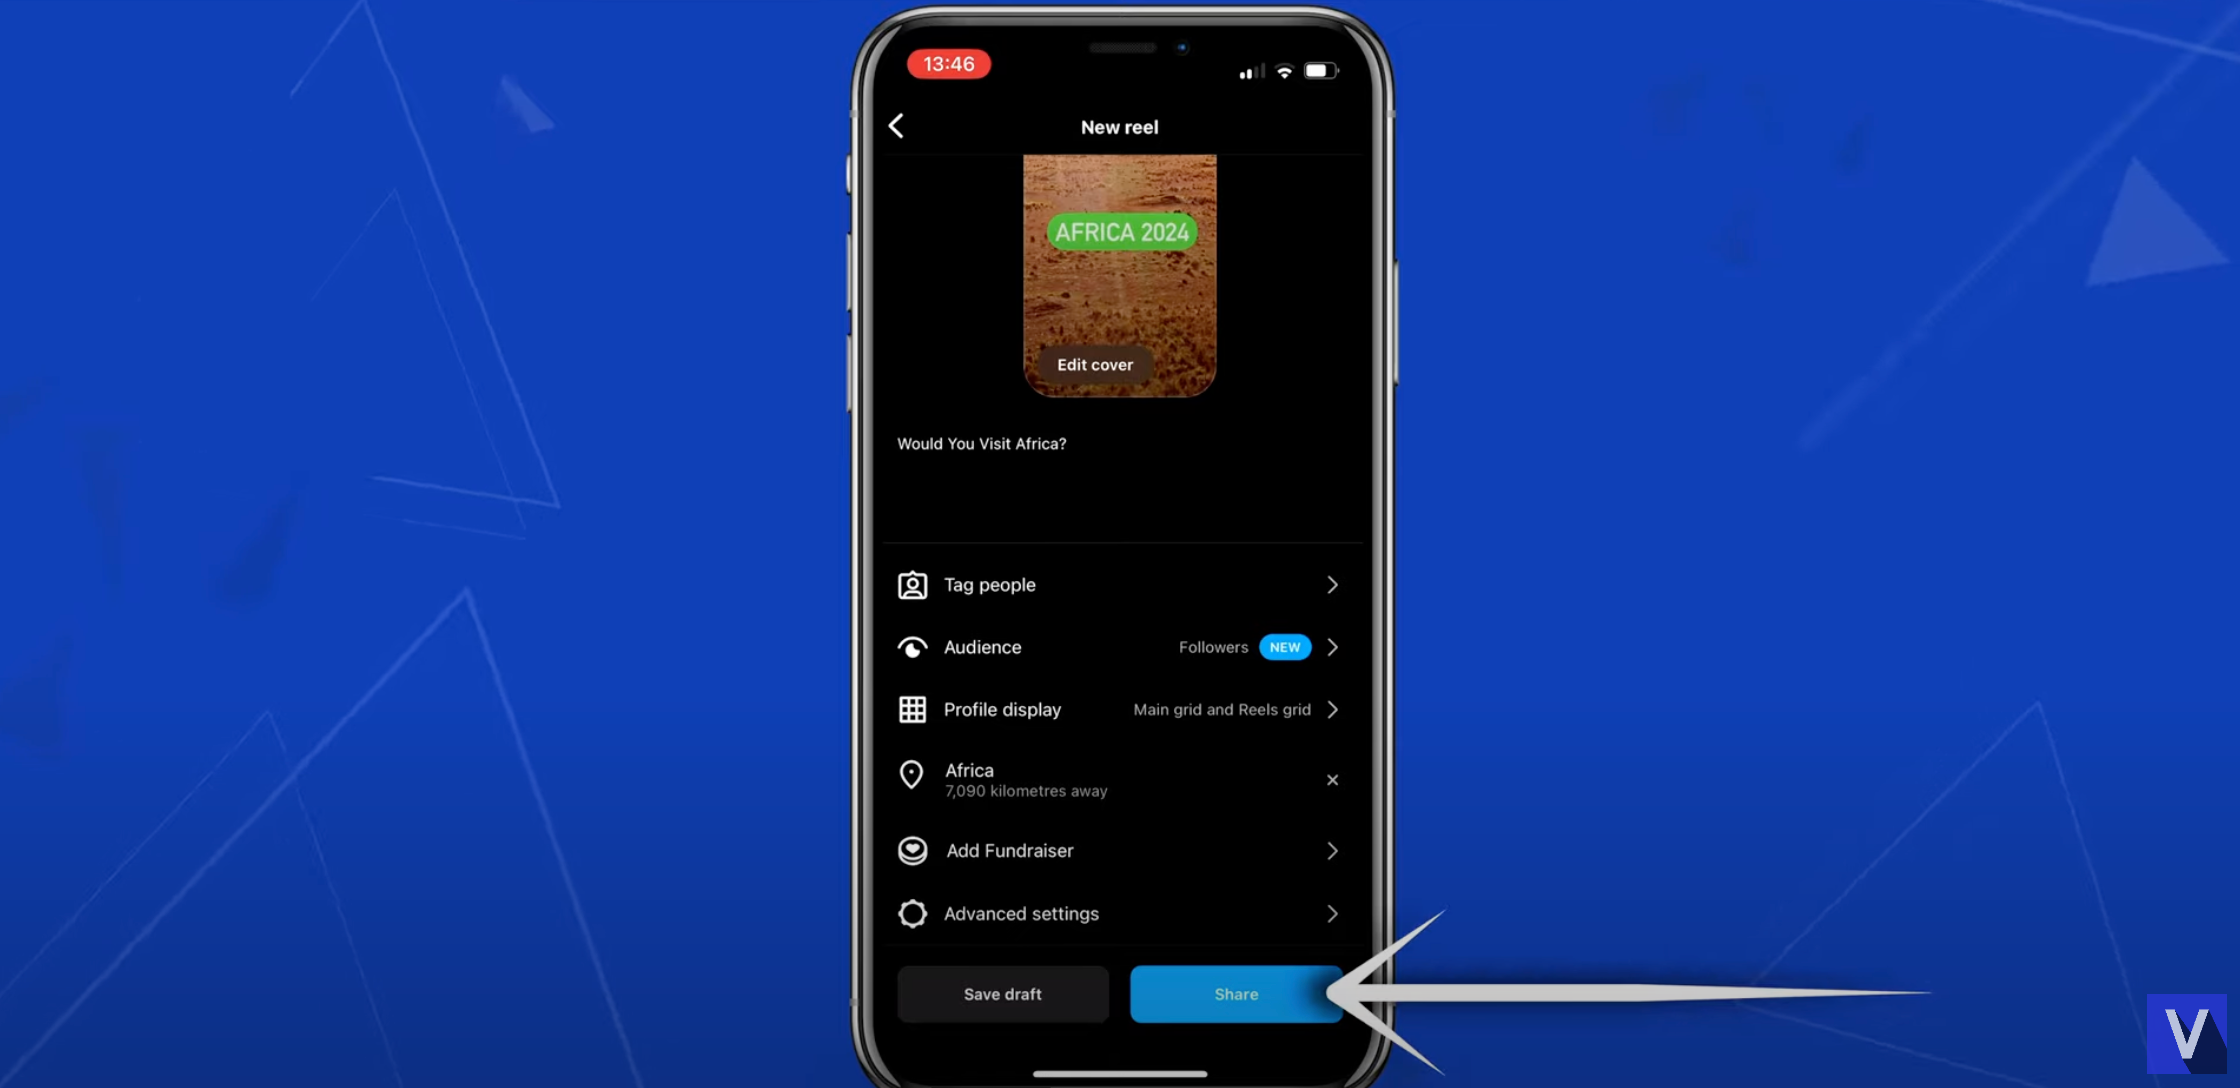
10. Share Your Reel
Once you’re happy tap the play button on the left to preview your Reel. An engaging cover photo can significantly enhance the visual appeal and attract more engagement when sharing the content. If all good tap the blue arrow at the top right to move to the share stage. The explore page plays a crucial role in increasing visibility and reaching a larger audience. Add a caption, tag people and locations and make any final adjustments before hitting the blue “Share” button.
Well done! You’ve just made an Instagram Reel for 2024.
Bonus Tip: Boost Your Instagram Reels with Viddyoze
Want to take your Instagram content to the next level? Try Viddyoze. This online video maker allows anyone to make amazing, customised videos in minutes. Whether you want to add professional animations, dynamic text or polished effects Viddyoze has you covered.
Try Viddyoze for free. Boost your Reels and stand out in the Instagram content jungle.
Final Thoughts
Making Instagram Reels in 2024 is easier and more fun than ever. You have all the tools at your disposal to create content that grabs attention and engagement. Whether you’re a pro or a beginner, this guide has got you covered.