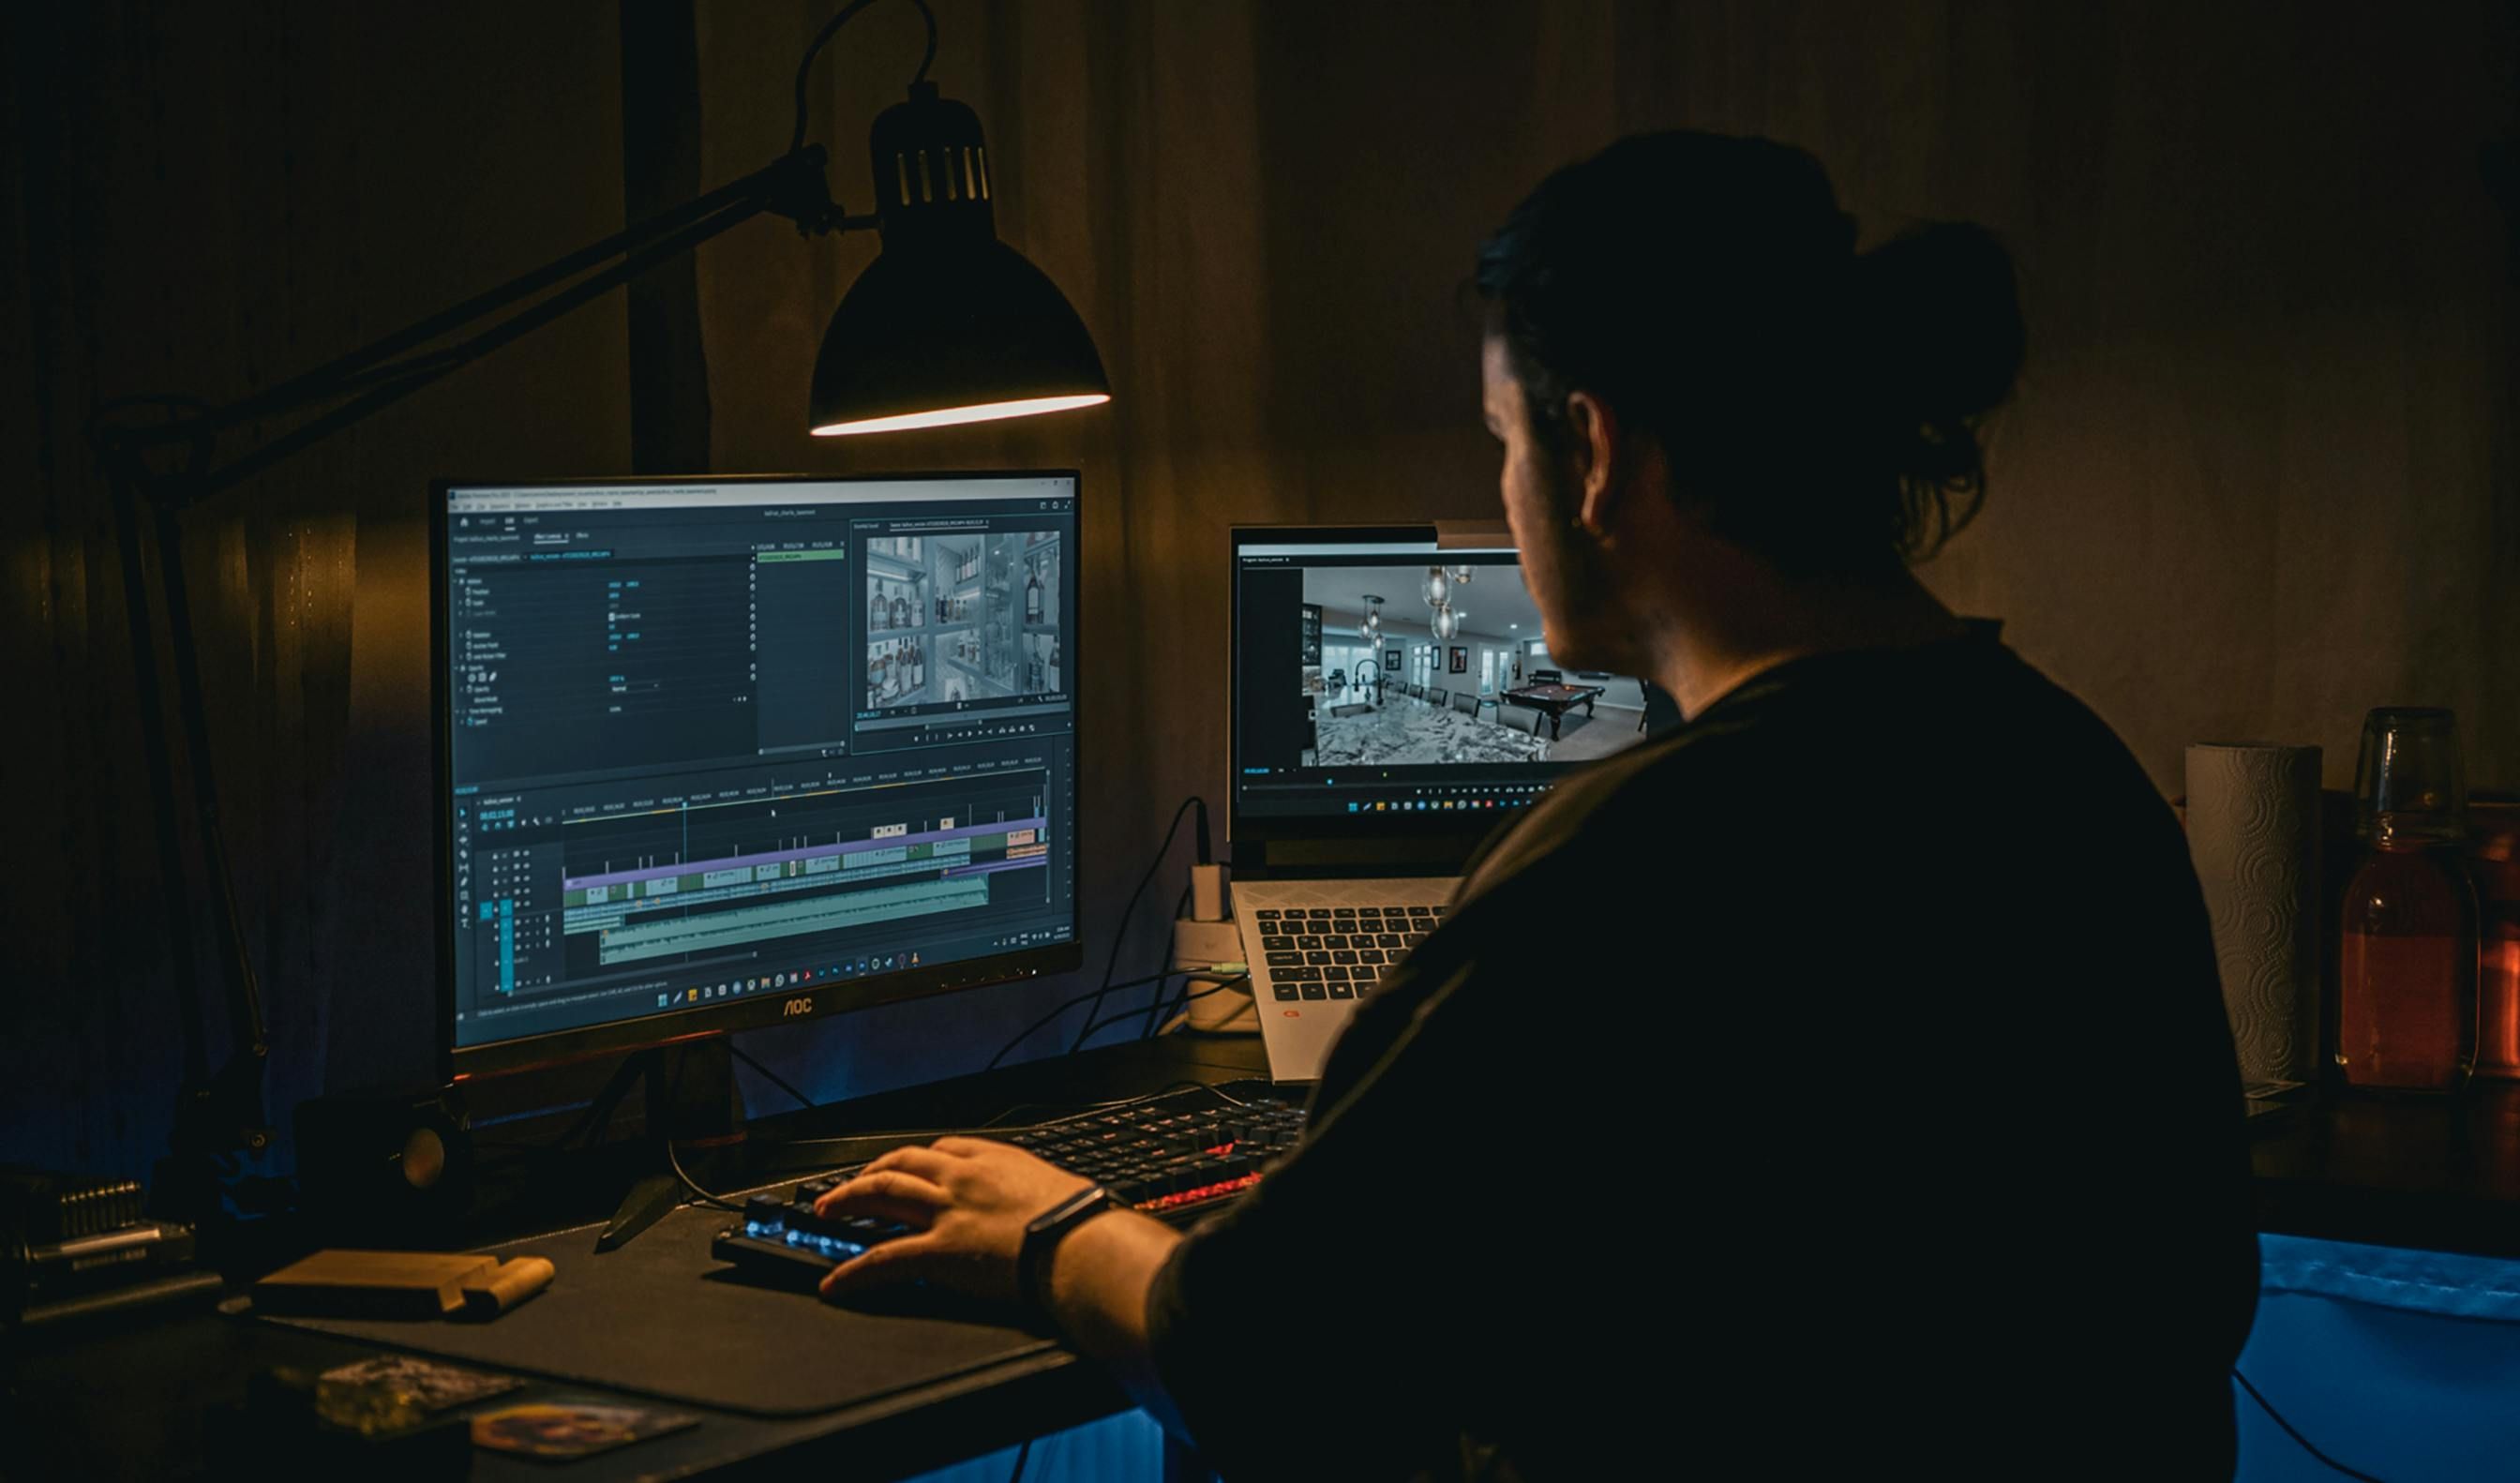
Adding transitions in Adobe Premiere Pro can take your videos from average to awesome. Transitions help smooth out cuts, add flair, and keep your audience engaged. But what if you want to take it a step further?
That’s where Viddyoze comes in. With Viddyoze, you can create professional transitions that will make your videos stand out.
Getting Started with Premiere Pro Transitions
First things first, let’s cover the basics of adding transitions in Premiere Pro. If you’re new to Premiere Pro, follow these simple steps:
Import Your Media
Bring your video clips into Premiere Pro by importing them into the project panel. This step is crucial as it lays the foundation for your entire editing process.

Create a Sequence
Drag your video clips to the timeline to create a sequence. This is where you’ll be adding your transitions. The sequence represents your video timeline, and organizing it well is key to a smooth editing process.
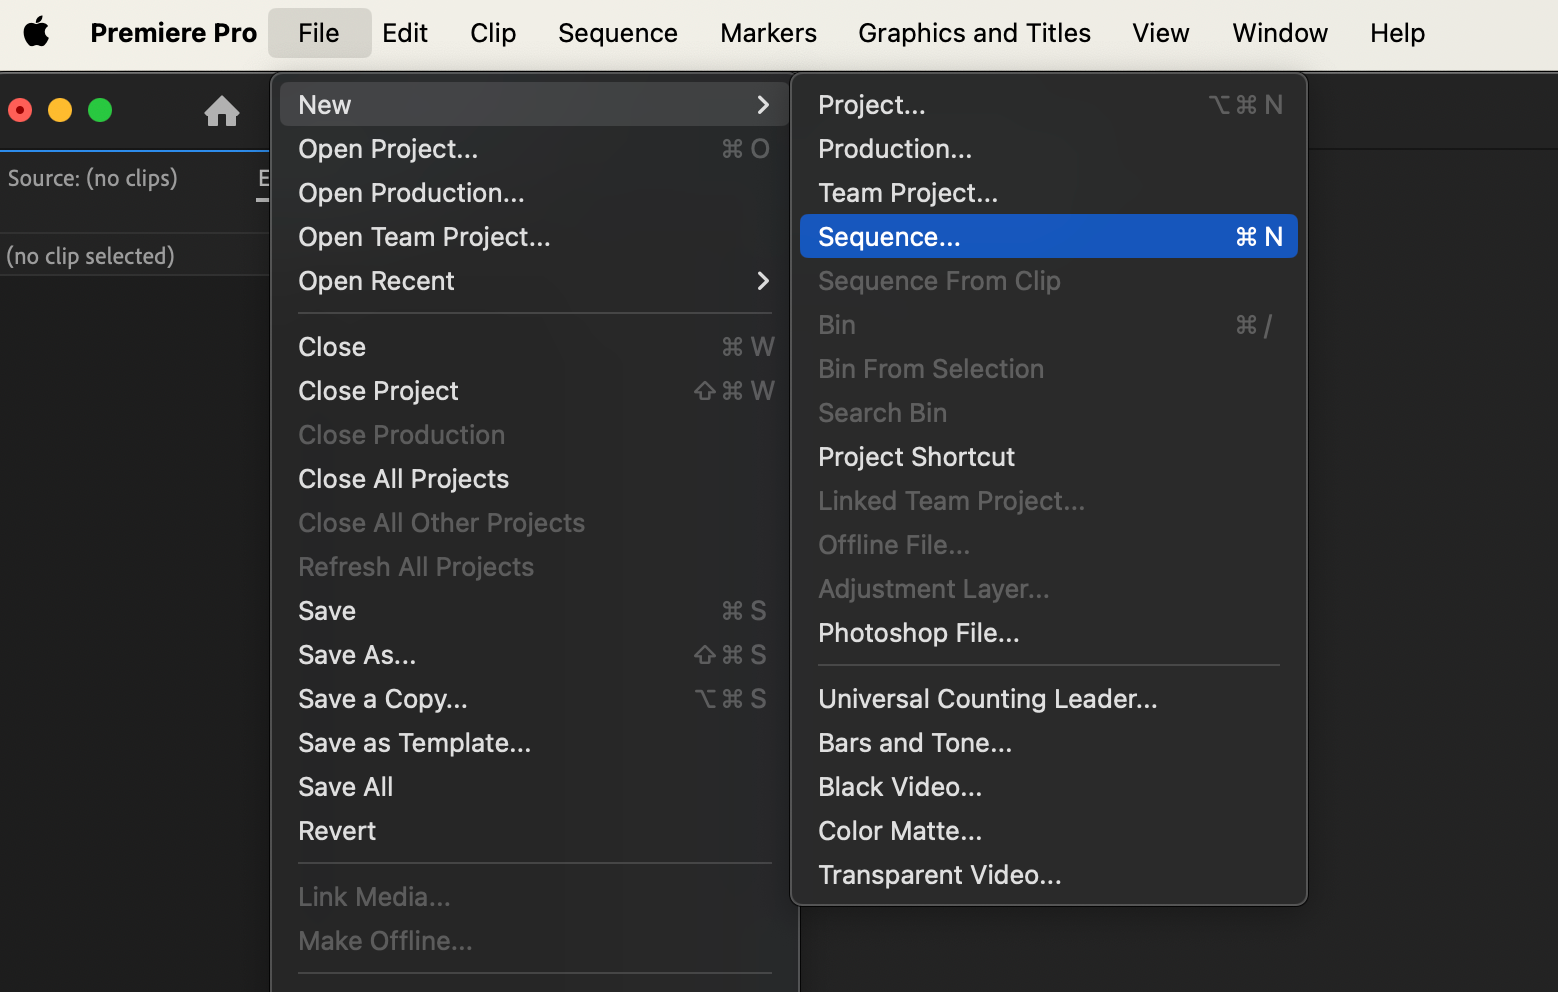
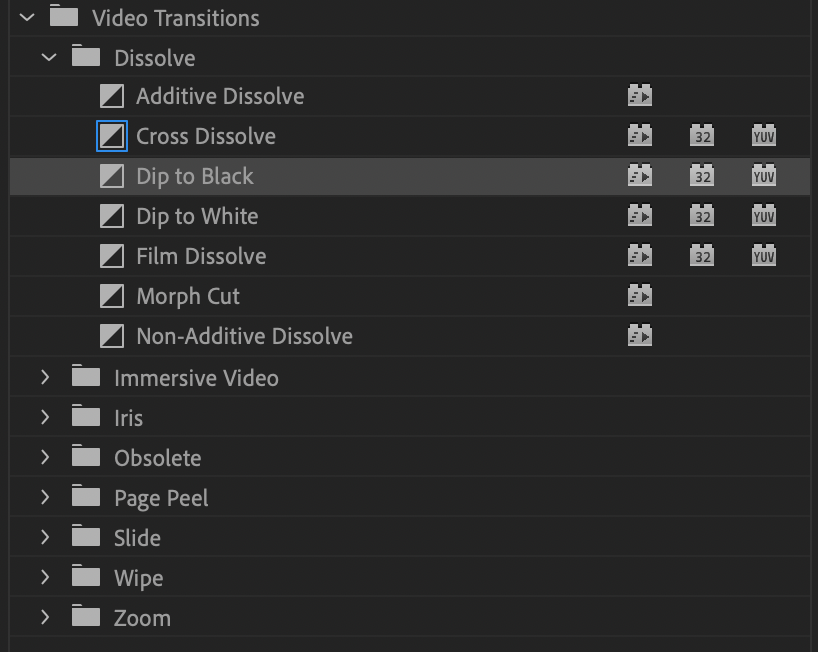
Add Default Transitions
- Go to the Effects panel.
- Open the Video Transitions folder.
- Choose a transition, like Cross Dissolve or Dip to Black, to set as your default transition effect.
- To set a default video transition for easier application, right-click on the chosen transition and select “Set Selected as Default Transition.”
- Drag the transition onto the timeline between two clips.
These basic transitions are great for simple projects, but they can be a bit plain.
Adjust Transition Duration
You can change how long the transition lasts by dragging its edges in the timeline. To further customize transition settings, use the effect controls panel, which allows you to adjust various settings for video and audio transitions. This allows you to control the pace and timing of your video transitions, ensuring they match the overall flow of your project.
These basic transitions are great, but they can be a bit plain. That’s why custom transitions can make a big difference.
Why Use Viddyoze for Transitions in Video Editing Software?
Viddyoze is an online platform that lets you create stunning video animations without any technical skills. Here’s why it’s perfect for creating transitions:
Professional Quality
Viddyoze offers high-quality, professional animations that look polished and impressive. This level of quality can be challenging to achieve without specialized skills, but Viddyoze makes it accessible for everyone.
Ease of Use
You don’t need any animation skills. Viddyoze is user-friendly and straightforward. The platform is designed with simplicity in mind, allowing users to create complex animations with just a few clicks.
Customization
You can tailor transitions to fit your brand and video style. Whether you need something bold and dynamic or subtle and elegant, Viddyoze has options that can be adjusted to match your vision.
Versatility
Use Viddyoze for more than just transitions. It’s great for intros, outros, logo stings, and more. This versatility makes it a valuable tool for all your video production needs.
Creating Transitions with Viddyoze
Let’s dive into creating transitions using Viddyoze. Follow these steps to make your video transitions pop.
Sign Up and Log In
If you haven’t already, head over to the Viddyoze website and sign up. Once you’ve created an account, log in to start creating.
Choose a Template
Viddyoze offers a wide range of templates. For transitions, look for ones labeled as transitions or ones that can be easily adapted for this purpose.
- Go to Templates: Click on the Templates tab.
- Filter by Category: Use the filter options to find transitions.
- Preview Templates: Hover over templates to see a preview. Choose one that fits your video’s style.
Customize Your Transition
Once you’ve chosen a template, it’s time to customize it.
Edit Text
If the template includes text, you can edit it to say whatever you want. This is useful for adding titles, captions, or other textual elements to your transition.
Add Your Logo
Many templates allow you to upload your logo for branding. Incorporating your logo into transitions helps reinforce brand identity and adds a professional touch to your videos.
Choose Colors
Adjust the colors to match your brand or video theme. Consistent color schemes help create a cohesive look throughout your video content.
Adjust Settings
Some templates offer additional settings for further customization. These might include options for animation speed, effects intensity, and more.
Render and Download
After customizing your transition, render it.
- Click Render: Hit the render button to start the process.
- Wait for Processing: It might take a few minutes.
- Download: Once the render is complete, download the transition to your computer.
Adding Viddyoze Transitions to Premiere Pro
Now that you’ve created your transition with Viddyoze, it’s time to add it to your Premiere Pro project.
Import Your Transition
- Open Premiere Pro: Make sure your project is open.
- Import File: Go to File > Import and select the Viddyoze transition you downloaded.
Place Transition on Timeline
- Locate the Transition: Find the transition in the Project panel.
- Drag to Timeline: Drag the transition to the timeline where you want it to appear.
Adjust Timing
- Fit Transition: Make sure the transition fits smoothly between your video clips.
- Trim if Needed: If the transition is too long, you can trim it by dragging the edges.
Blend with Video
To make the transition seamless, blend it with your video clips. Add and customize audio transitions to match the video transitions for a cohesive effect.
Pairing audio transitions with sound effects is crucial for a professional outcome.
Use Opacity
Adjust the opacity of the transition if needed. This can help the transition blend more naturally with the surrounding footage.
Add Effects
You can add effects like blur or color correction to match the transition with your video. This step ensures that the transition looks integrated and professional.
Tips for Using Transitions Effectively
Transitions are powerful tools, but they should be used wisely. Here are some tips to keep in mind:
Keep it Simple
Don’t overdo it with too many transitions. Use them sparingly to maintain a professional look. Too many transitions can distract from the content of your video and make it look cluttered.
Match the Style
Choose video transitions that fit the style and mood of your video. For example, a high-energy video might benefit from fast, dynamic transitions, while a more subdued video might require subtle, smooth transitions.
Consider Timing
The length of the transition should match the pacing of your video. Don’t make them too long or too short. The transition duration should feel natural and not disrupt the flow of the video.
Stay Consistent
Use similar transitions throughout your video for a cohesive feel. Consistency helps in maintaining a professional look and makes the video more visually appealing.
Blend Well
Make sure transitions blend smoothly with your video and audio clips to avoid jarring cuts. Pay attention to details like color, lighting, and motion to ensure a seamless transition.
Exploring More with Viddyoze
Beyond transitions, Viddyoze offers a range of features to enhance your videos.
Intros and Outros
Create stunning intros and outros to start and end your videos on a high note.
Choose Templates
Look for intro and outro templates. These are designed to grab attention right from the start and leave a lasting impression at the end.
Customize
Add your branding and adjust settings. Personalize the intro and outro to reflect your brand’s identity and style.
Render and Download
Follow the same process as transitions. Once rendered, import them into Premiere Pro and place them at the beginning and end of your timeline.
Logo Stings
Make your logo memorable with eye-catching logo stings.
Find Templates
Search for logo sting templates. These are short animations that highlight your logo in a dynamic way.
Add Logo
Upload your logo and customize the animation. This adds a professional touch and reinforces brand recognition.
Render and Download
Save your animated logo and import it into your video project.
Social Media Animations
Boost your social media presence with engaging animations.
Select Templates
Look for social media-specific templates. These are optimized for platforms like Instagram, Facebook, and YouTube.
Customize Content
Tailor the animation for your platform. Adjust the aspect ratio, text, and graphics to fit the specific requirements of each social media platform.
Render and Share
Download and upload to your social media channels. These animations can help you stand out and engage your audience.
Advanced Techniques with Premiere Pro and Viddyoze
Once you’ve mastered the basics, you can explore more advanced techniques to elevate your video editing skills.
Combining Multiple Transitions
Use a combination of Viddyoze transitions and Premiere Pro’s built-in transitions for a unique look. To streamline your workflow, you can apply video transitions to multiple clips simultaneously in the timeline, enhancing efficiency in editing.
Premiere Pro offers various transition types, including single-sided transitions, which are applied to a single clip and provide unique control over the visual representation in the Timeline.
Layering Transitions
Layer different transitions on top of each other for a more complex effect. This technique requires careful timing and blending to achieve a seamless result.
Creating Custom Transitions
Experiment with keyframes and masking in Premiere Pro to create custom transitions. This allows for more creative freedom and can result in truly unique effects.
Using Effects with Transitions
Combine transitions with other effects like color grading, motion graphics, and transition effects.
Color Grading
Adjust the color grading of your transitions to match your video. Consistent color grading helps in maintaining a cohesive look and feel.
Motion Graphics
Add motion graphics elements to your transitions. This can include text animations, graphic overlays, and more.
Troubleshooting Common Issues
Even with the best tools, you might encounter some challenges. To solve audio-related issues, check and set the ‘default audio transition’ in Adobe Premiere Pro to ensure seamless video transitions between clips. Here are a few common issues and how to solve them:
Transition Timing
If your video transitions aren’t fitting well, adjust the duration or position in the timeline.
Blending Issues
If transitions look jarring, try adjusting opacity or adding blending effects.
Rendering Problems
If your transition doesn’t render correctly, check the settings and try again. Ensure your software and templates are up to date.
Final Thoughts
Adding transitions in Premiere Pro is straightforward, but using Viddyoze takes it to the next level. By combining the power of Premiere Pro and Viddyoze, you can create videos that are not only smooth and professional but also unique and captivating.
Experiment with different video transitions, customize them to fit your brand, and watch as your videos become more engaging and polished. Whether you’re creating content for YouTube, social media, or professional projects, Viddyoze transitions can help you make a lasting impression.